


Winter DIY: Sparkly Snowflake Layered Wax Melts
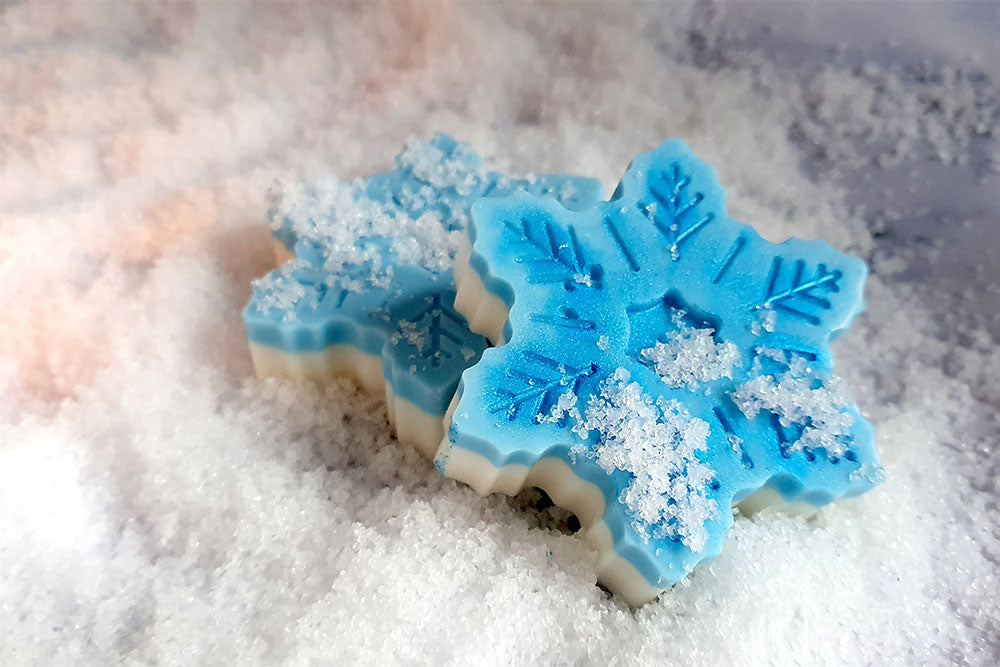
Dreaming of a white Christmas? We sure are! Our sparkly snowflake wax melts, layered in blue and white fresh-scented wax with a shimmer blue sparkle, will allow you to enjoy the magical feel of the fresh outdoors laden with snow without having to leave the warmth of your home.
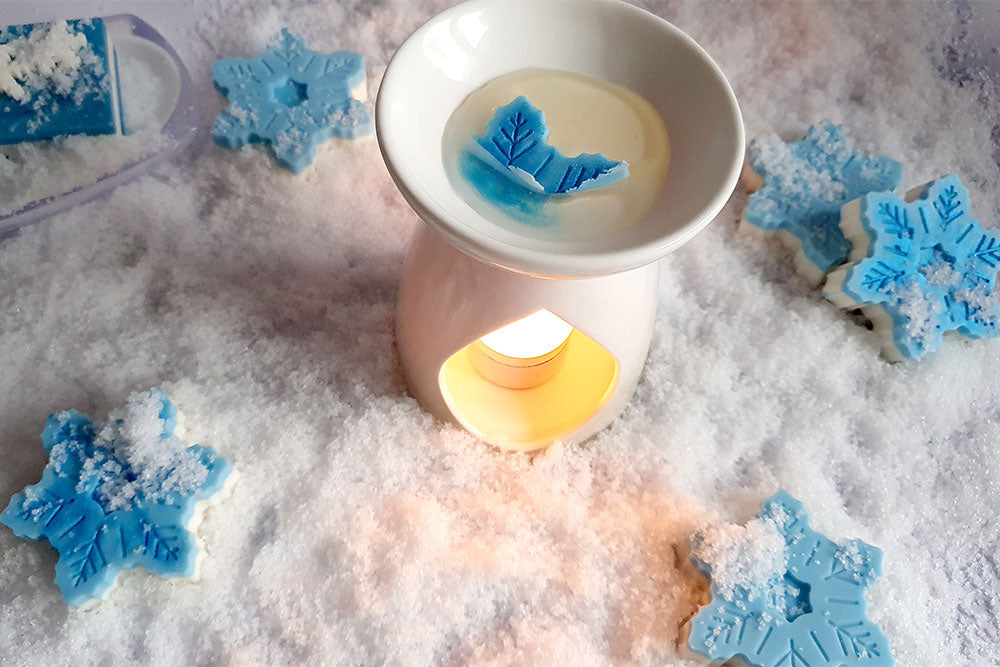
The glistening snow really gives off a truly magical air, making us forget about the cold, our fingertips tinged with blue from throwing snowballs in a hurry without putting gloves on. Capture the season with our Sparkly Snow fragrance oil with its fresh, festive herbal accord of eucalyptus, slight citrus nuances, frosted pine cones and base of soft woods along with a splash of electric blue mica powder for that gorgeous, glittering sparkle.
If you’re new to making wax melts, then our beginners tutorial will guide you through the process and options available. We recommend mastering making simple wax melts first and then coming back to try this more advanced wax melt tutorial. Want to get stuck in now? Follow along the steps in our video above or read on for your full step-by-step guide.
Difficulty: Intermediate
Makes: 6 x 50g Large Snowflake Wax Melts
Ingredients
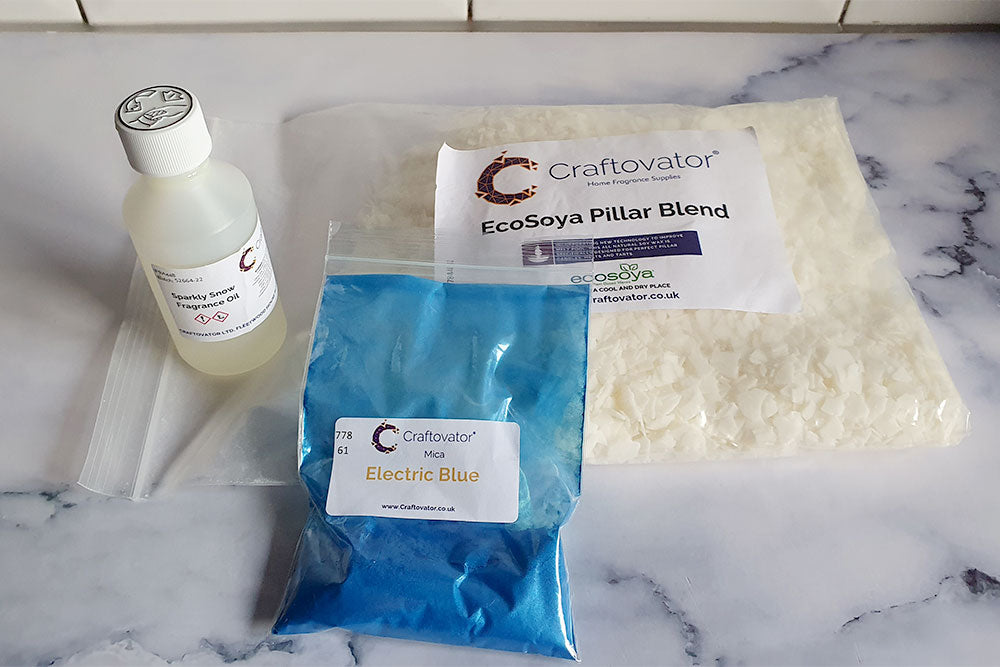
276g EcoSoya Pillar Wax
24g Sparkly Snow Fragrance Oil
Materials Needed

1x 6-cell snowflake mould
Digital weighing scales
100ml measuring cup
Milk or digital thermometer
Metal spoon
Melting pot
Pan
Kitchen roll to protect your work surface and for wiping tools
Nitrile gloves (or similar protective gloves) and an apron. We’d also highly recommend the use of a chemical mask
Pro tip: Before starting, make sure your work surface is covered and you’re wearing the correct PPE as stated in the materials needed above. This is to avoid skin/respiratory irritation from the fragrance oil and mica powder and to protect your clothes from any splashes.
Part 1 – Sparkly Blue Layer
Step 1 – Weigh out the wax
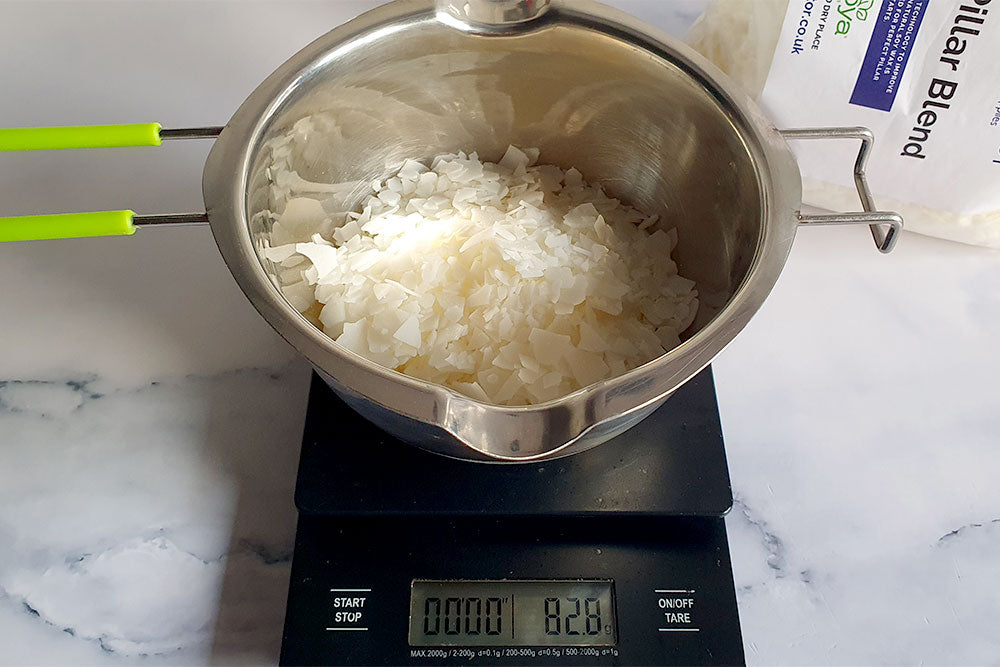
Place the melting pot on your scales and turn on. Weigh out 82.8g of wax.
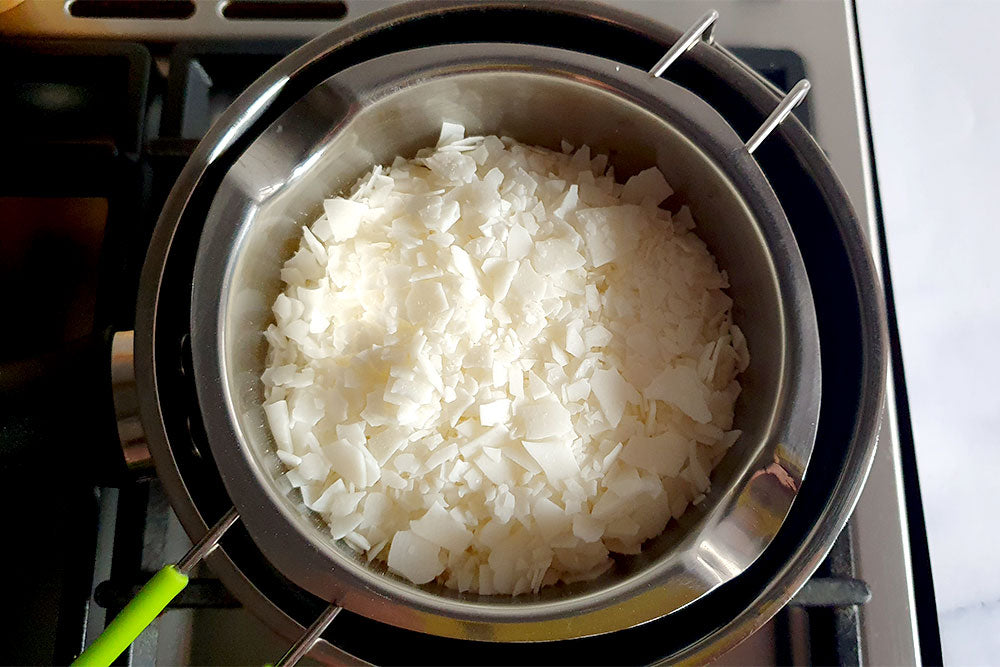
Step 2 – Melt the wax
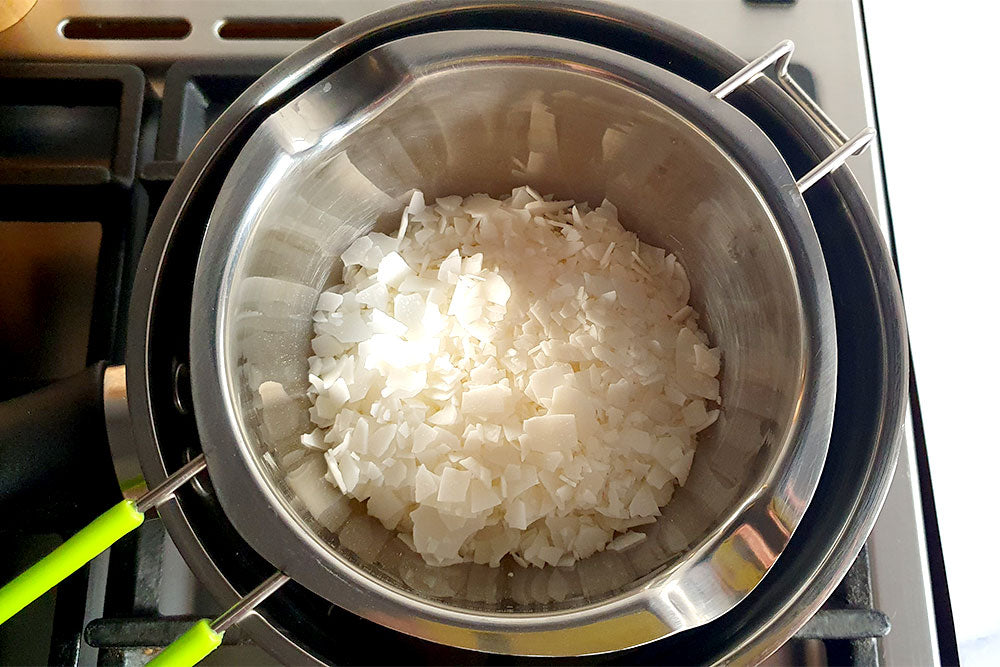
Half fill your pan with cold water and place on your cooker/stove top. Sit the melting pot on top of the pan. Turn the hob/ring on and set to a medium - low heat.
Top tip: The water in your pan should be no more than halfway up your melting pots bowl.
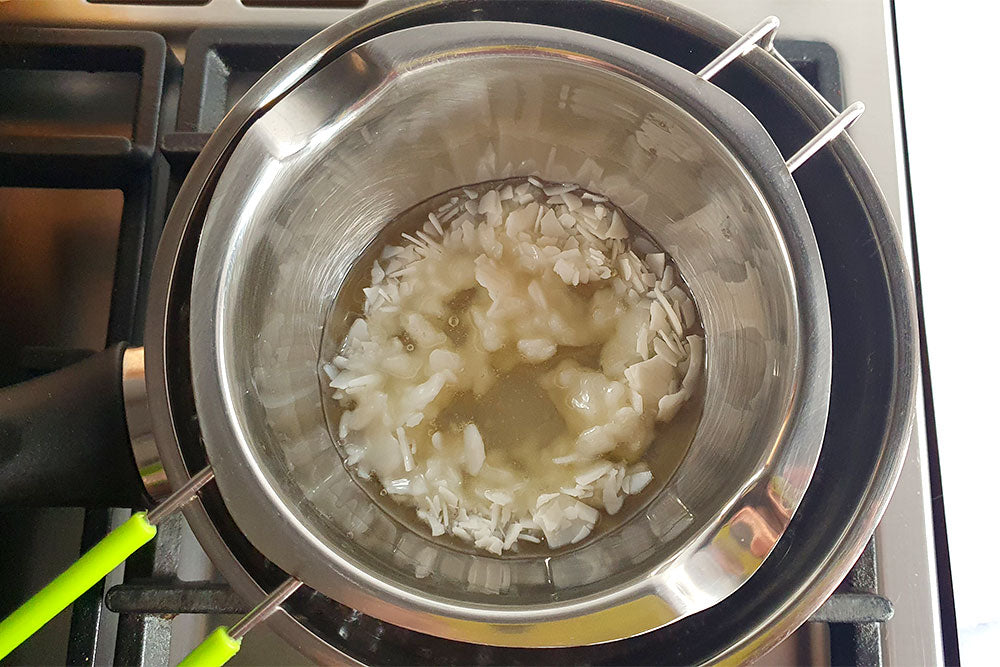
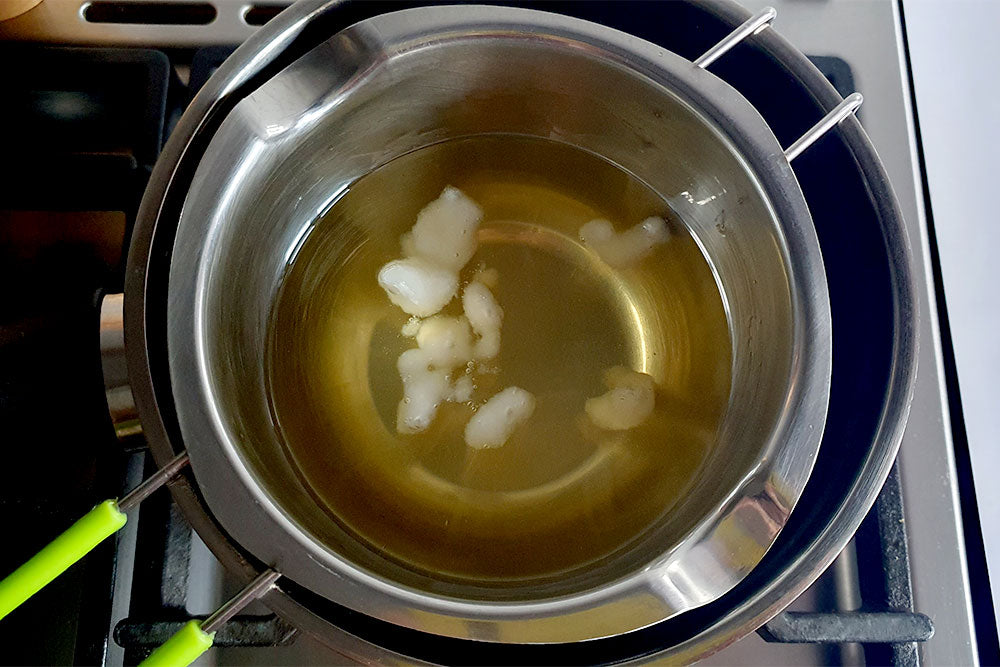
When the wax starts to melt, place the thermometer in the wax to check the temperature. Once the wax has fully melted and reaches 75 degrees Celsius, take the pan off the heat and turn the hob off.
Pro tip: Don’t leave your thermometer in the melting pot whilst the wax is melting as it will get hot from the steam. Keep adding the thermometer to the wax at melting intervals to check it's not getting too hot.
Step 3 – Prepare the fragrance oil
You can do this step whilst the wax is melting if you prefer.
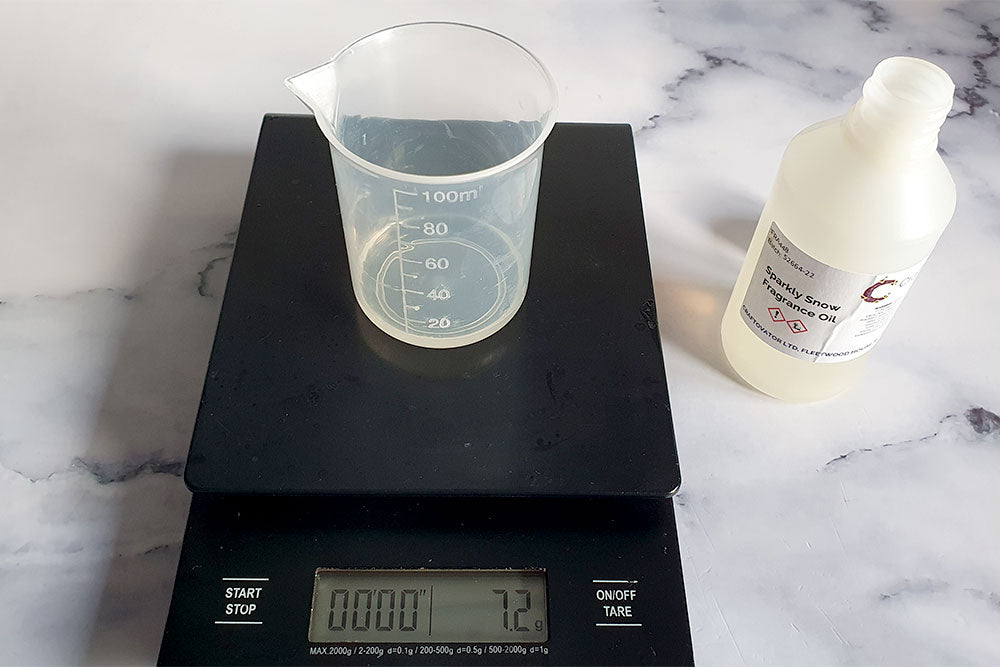
Take the measuring cup and weigh out 7.2g of Sparkly Snow fragrance oil.
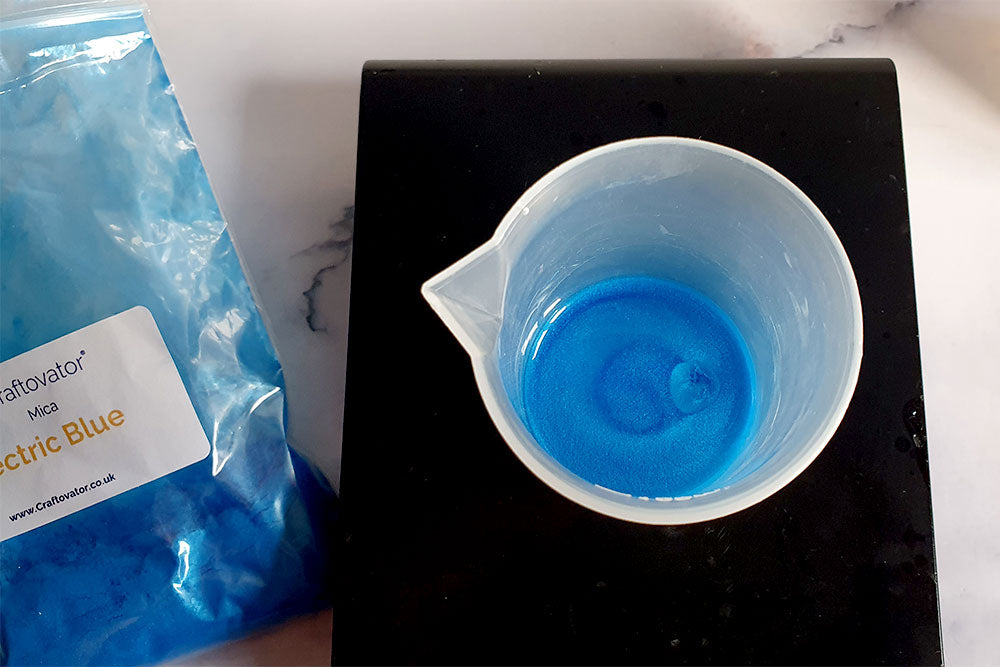
Then take a small amount of electric blue mica powder and add this to your fragrance oil. Stir it in carefully to break up any clumps.
Step 4 – Add the fragrance oil
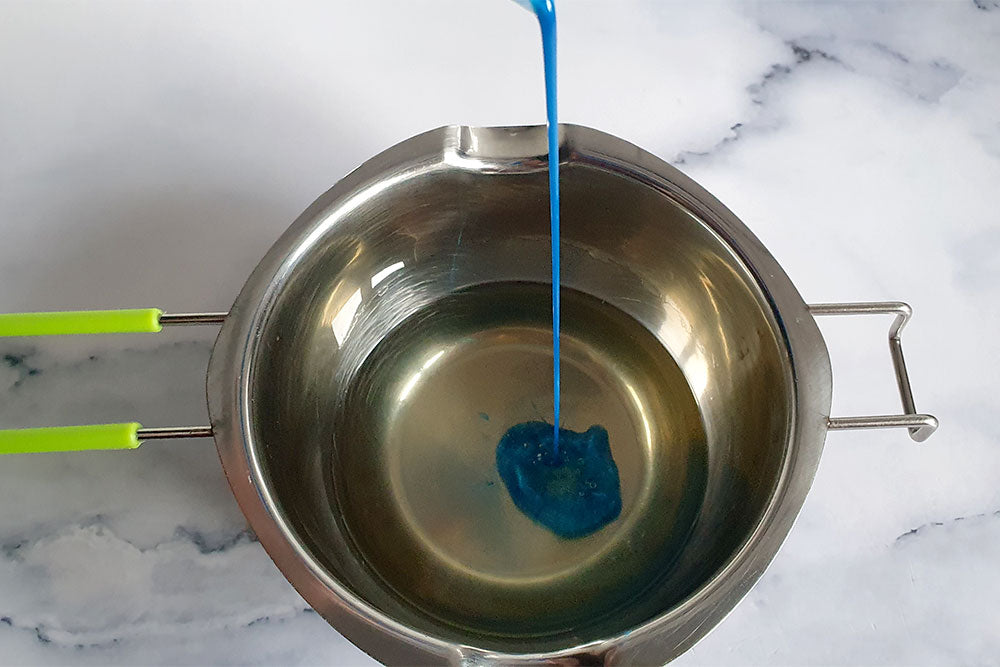
Take the melting pot off the pan, wiping the underneath carefully and add the fragrance oil and mica powder mix once the wax reaches 65 degrees Celsius. Stir continuously for around 60 seconds to ensure the fragrance oil and mica powder is thoroughly mixed into the wax.
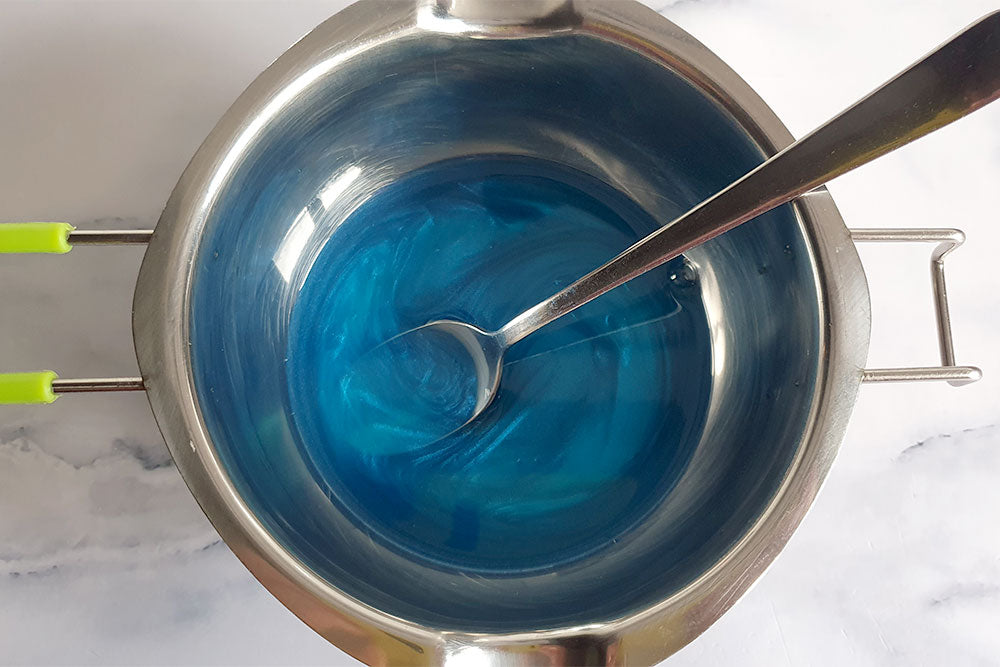
You’ll notice a mesmerising swirly effect in the wax from the addition of the mica powder.
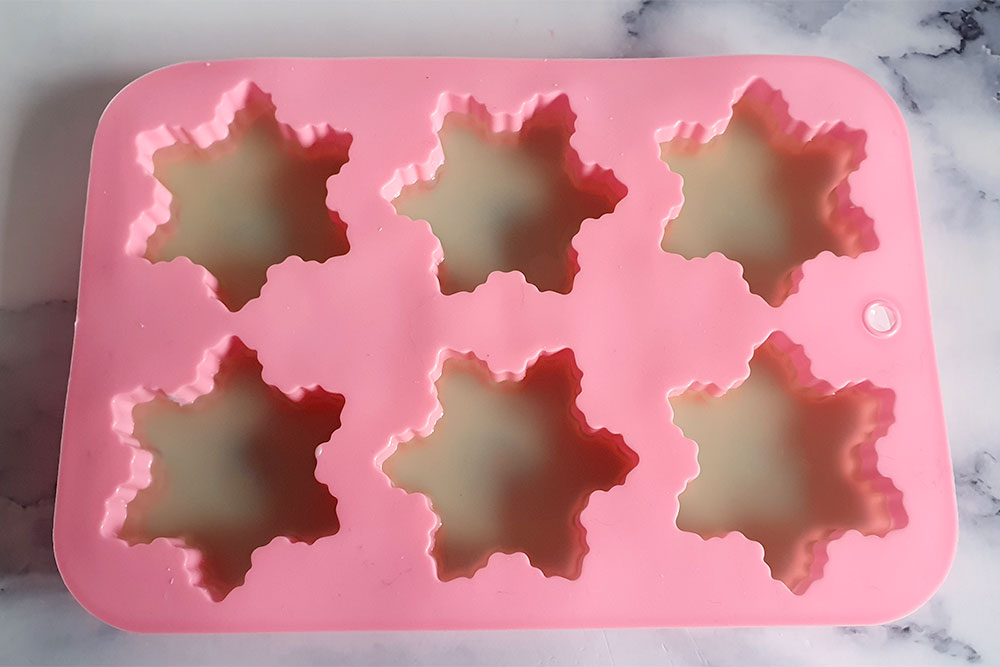
Step 5 – Pour the wax into the mould
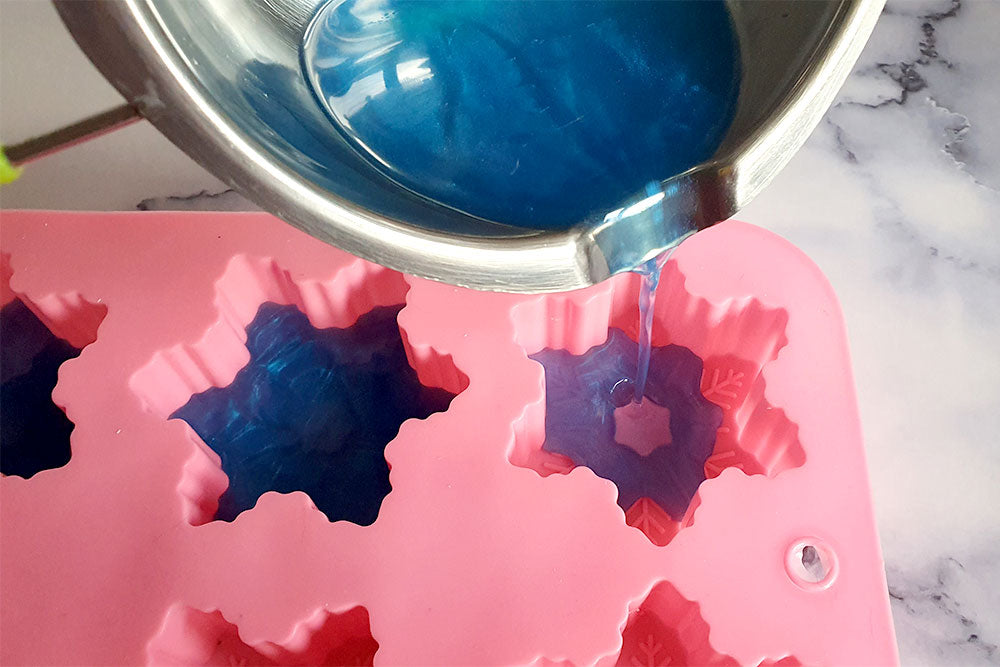
Once stirred, you can start to fill each cell of the mould. You’ll need around 0.5cm of wax in each snowflake cell.
Don’t worry if some are filled slightly more or less than others.
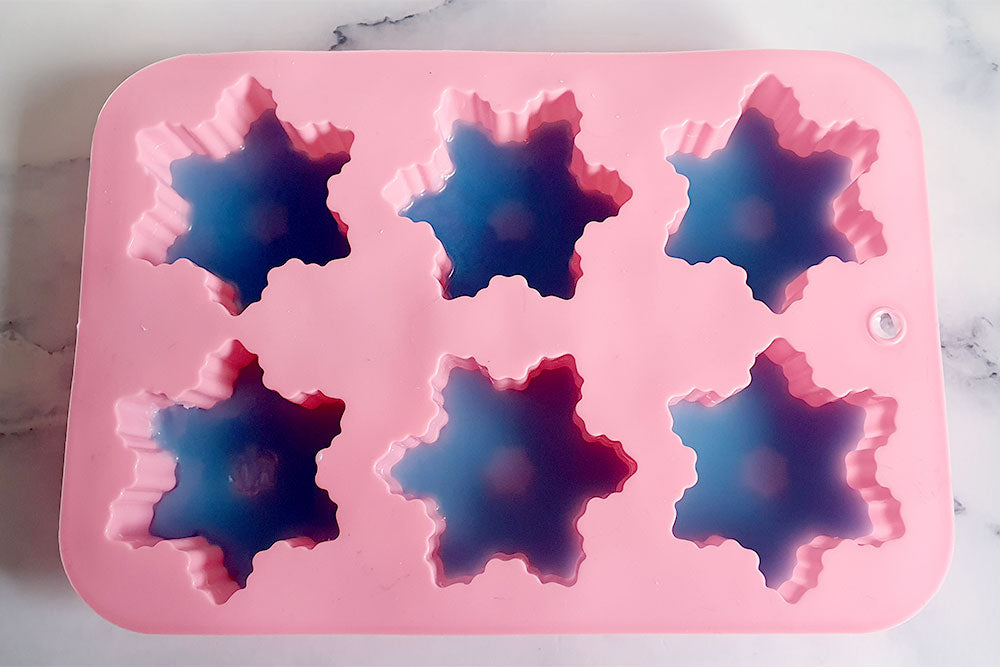
Step 6 – Clean the melting pot
Place the melting pot over the pan and carefully wipe the remaining wax off ready for the final layer of wax. The heat from the water should melt the setting wax enough to be able to do this step.
Leave the first layer of wax to set for around 20 minutes before moving on to part 2.
Part 2 – Plain Wax Layer
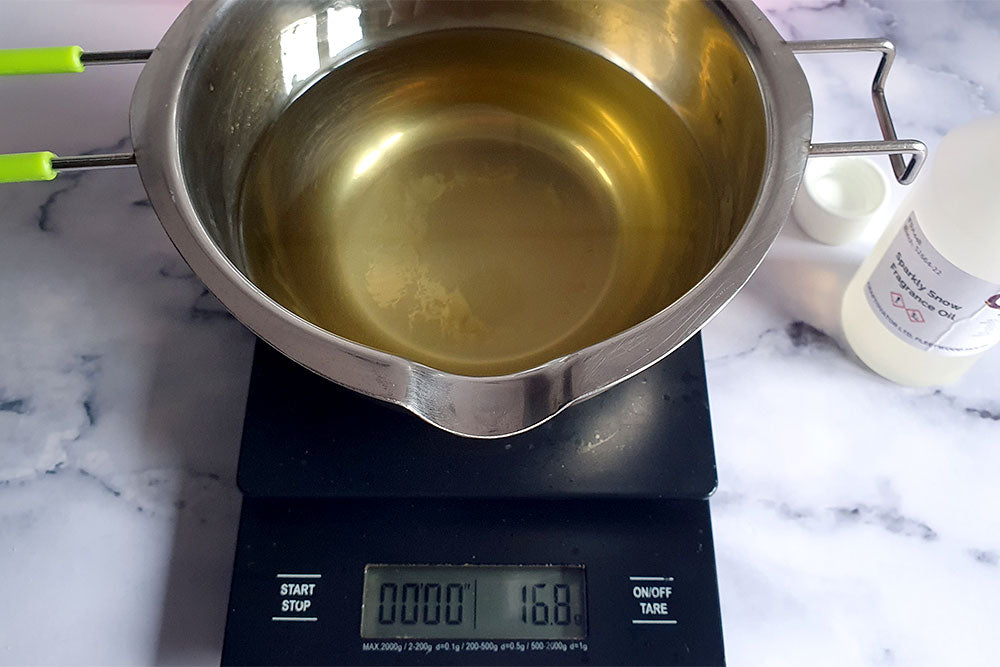
Step 1 – Weigh out the wax
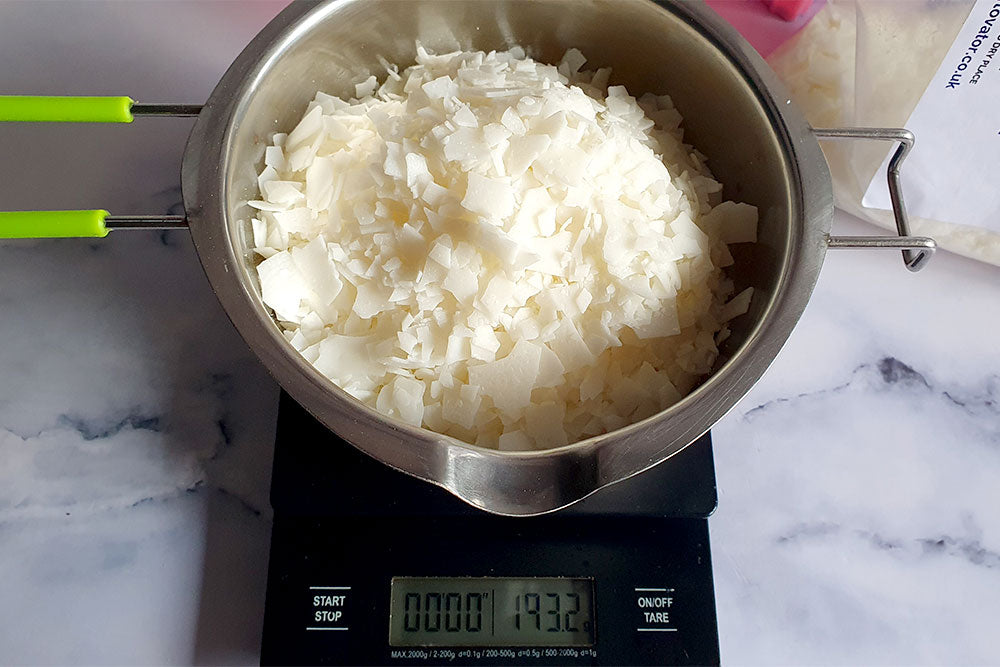
Place the melting pot on your scales and turn on. Weigh out 193.2g of wax.
Step 2 – Melt the wax
There should be enough water in the pan for this step. Sit the melting pot on top of the pan. Turn the hob/ring on and set to a medium - low heat.
When the wax starts to melt, place the thermometer in the wax to check the temperature.
Once the wax has fully melted and reaches 75 degrees Celsius, take the pan off the heat and turn the hob off.
Step 3 – Add fragrance oil
Take the melting pot off the pan, carefully wiping the underneath and add 16.8g fragrance oil once the wax reaches 65 degrees Celsius. Stir continuously for around 90 seconds to ensure the fragrance oil is thoroughly mixed into the wax.
Step 4 – Pour the wax into the mould
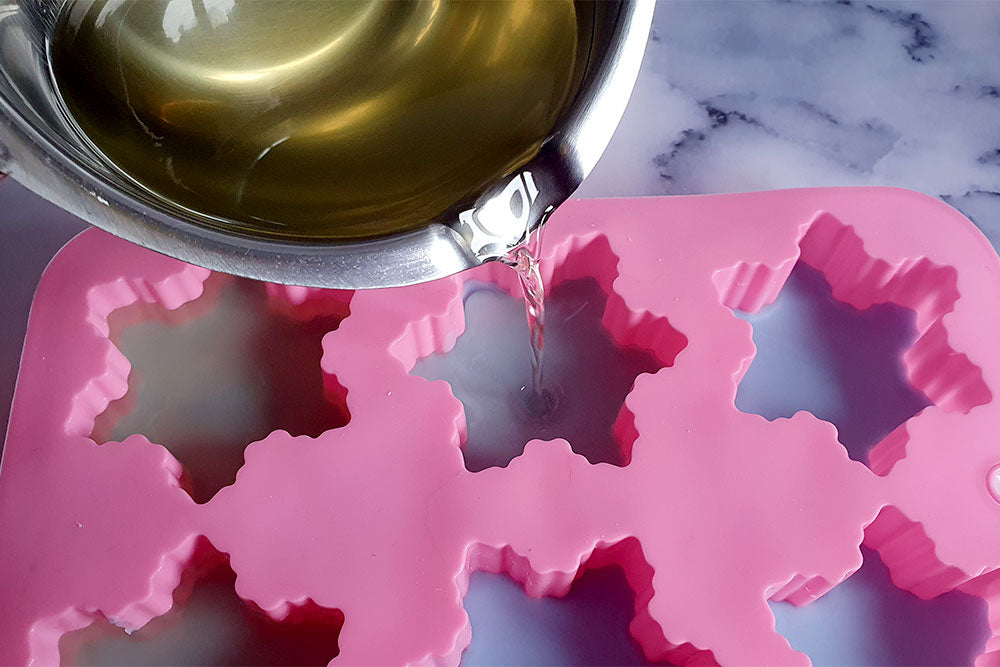
Once stirred, you can start to fill each cell of the mould. You want to fill each snowflake cell to around half full. Don’t worry if it goes over slightly.
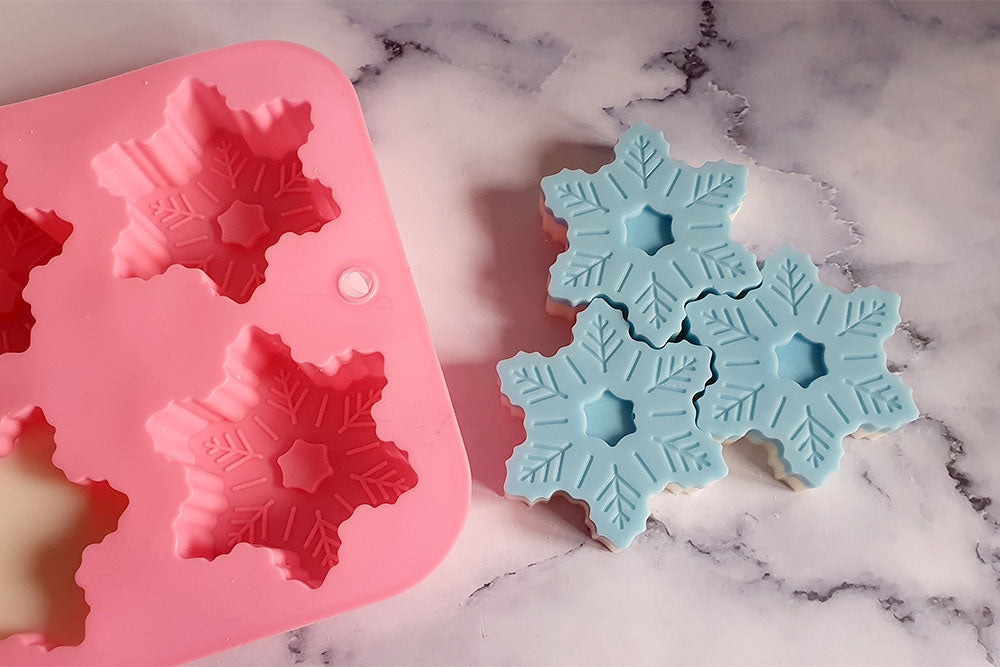
Leave the wax to set fully for at least 2 hours before removing from the mould.
Step 5 – Brushing mica powder on the snowflakes (optional)
You might like to brush a small amount of electric blue mica powder on a few (or all) of your snowflake wax melts to add more depth to the sparkle if you wish.
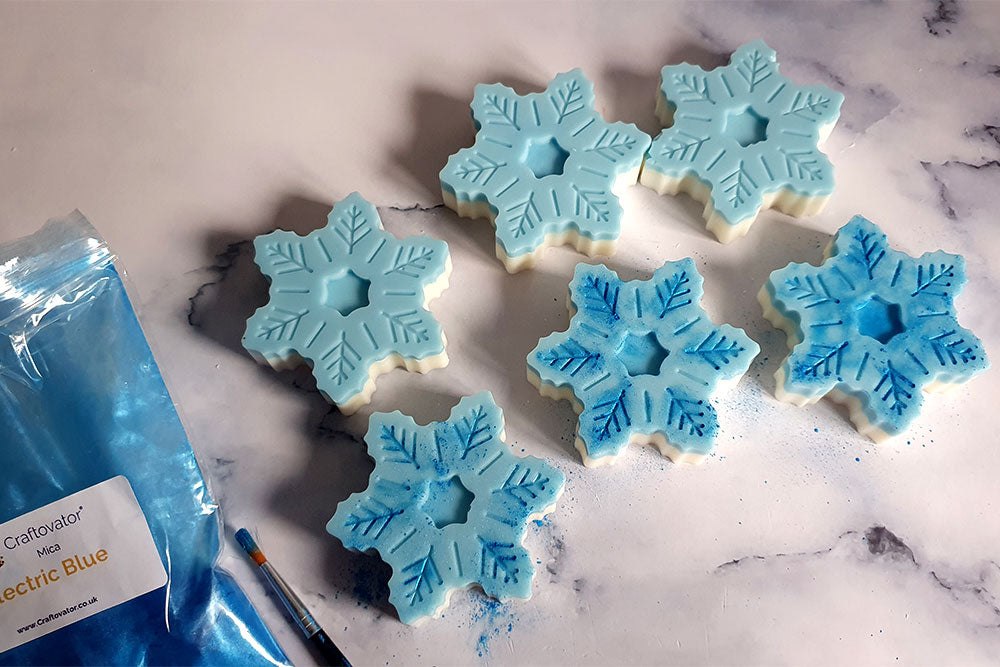
Once fully set and removed from the mould, using a small tipped paintbrush (or similar brush), dip the end of the brush in the mica powder and lightly dust over the top of your snowflakes.

Your sparkly snowflake wax melts are now made and will be ready to use once cured in around 9 days. To use, carefully cut one of the snowflake wax melts into 4 chunks using a knife or ridged potato cutter and add one chunk to your burner. Enjoy the fragrance until it disappears then replace with another chunk.
Note: When cutting the snowflakes into chunks, it may snap at the part where the layers meet. As this is a pillar wax, it is harder and as such is prone to breaking easily if snapped or cut. This won’t affect the wax melts in any way.
We really hope you enjoyed this seasonal special sparkly snowflake wax melt tutorial.
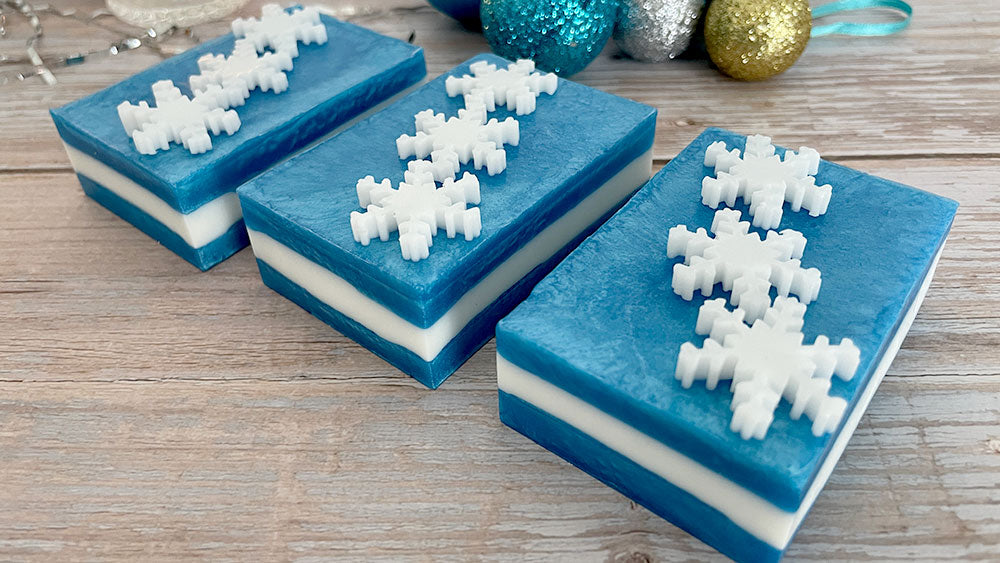
If you’d like to pair your wax melts with some fabulous, sparkly soap, our Sparkly Snowflake Layered Soap Bars perfectly pair with these melts as lovely gift set for someone special!
How about a Sparkly Snow fragranced candle for your dining table when having guests over and for the ultimate scent layering throughout your home. Our beginners guide will talk you through the steps or why not try a coloured layered candle to tie in with the chilly blue and white theme.