How to Make Solid Shampoo and Conditioner Bars - Reduce your plastic waste!
Would you like to be doing your bit for the environment? Swapping from your typical shampoo and conditioner bottles to solid bars couldn’t be easier with our beginner’s tutorial for making your own solid shampoo and conditioner bars.

Using solid shampoo and conditioner bars will not only help the environment but they are very cost effective and last a long time too.
Solid forms of toiletries are becoming ever popular. Whether you are looking to become completely plastic free or just trying to be a little more conscious about your plastic waste, our simple tutorial will help you make that start. Plus, they are easy to take along with you if you’re travelling (no worries about bottle sizes in your luggage!) and they require very little packaging if you’re considering adding these for sale in your business.
If you have never used a solid hair product before and you are not entirely sure what they even are, then our post will explain everything you will need to know, including instructions on how to make your own shampoo and conditioner bars.
To jump straight in, check out our video tutorial below or read on for the written version with pictures for each step of the process as well as further information on customising our tutorial to create your own.
Please note: Our tutorial is designed for personal use only. You will need to follow all legal responsibilities before selling any products that come into contact with skin.
See our Solid Shampoo Bar Assessment, our Solid Conditioner Bar Assessment or our Solid Shampoo & Conditioner Bar Bundle Assessments to purchase the assessments required and our blog post on Assessments & CPSR - How to Sell Bath & Beauty Products in the UK for more information.
Difficulty Level: Beginner
Makes: 3 x 100g shampoo bars and 3 x 80g conditioner bars*
*Please note, the 80g conditioner bar will fill a 100g cell mould
How to Make Solid Shampoo Bars

We'll start off with making shampoo bars and then we'll make conditioner bars using the same mould.
Ingredients

Equipment

Please note, the equipment you'll need is the same for both the shampoo and conditioner bar tutorials.
- Set of kitchen scales
- A large heat proof jug
- A small container for fragrance oil
- A small container for mica powder
- Microwave or double boiler
- spatula
- Clingfilm (optional)
- Multi cell mould (100g per cell) x3 cells
- Isopropyl alcohol in a spray bottle
Step 1 – Weigh out your ingredients
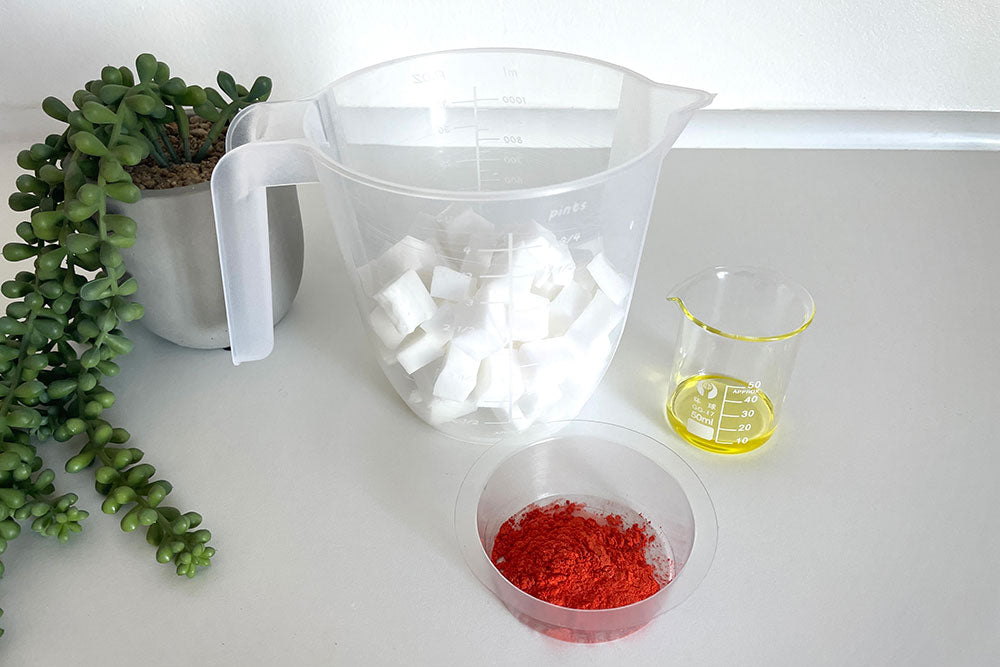
Chop up 300g of shampoo base up into equal sized cubes and weigh out 9g of fragrance oil and 3g of mica powder.
Step 2 – Melt the shampoo base
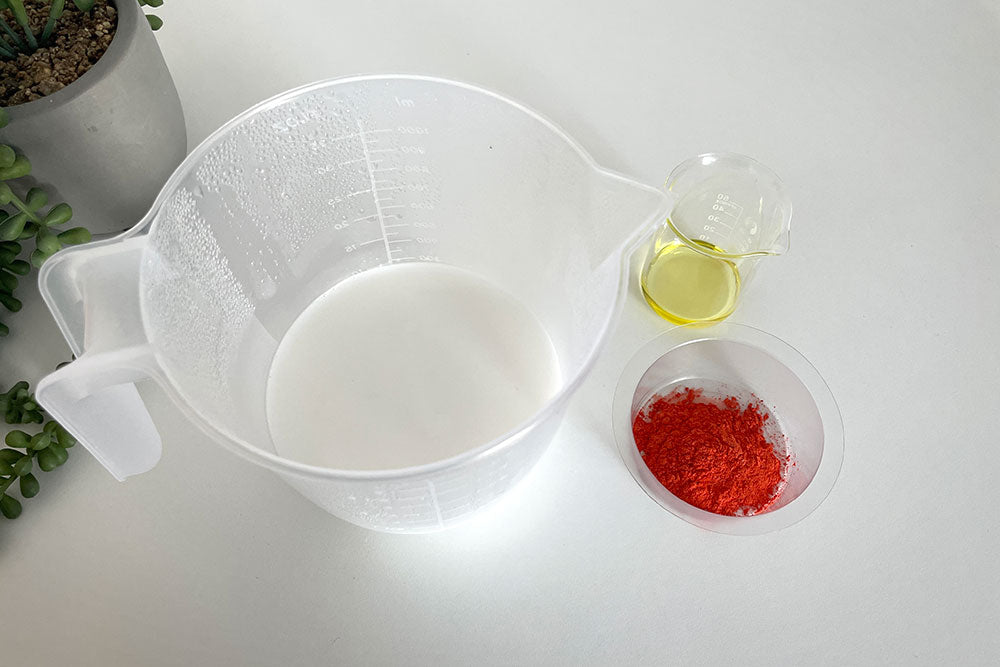
Place the jug of chopped shampoo base into the microwave. Heat the base on short 30-60 second bursts until it reaches 65-70°C. Using a piece of clingfilm over your jug may help stop the base from forming a skin . Alternatively heat to the same temperature using the double boiler method.
Step 3 – Prepare the fragrance oil and mica powder
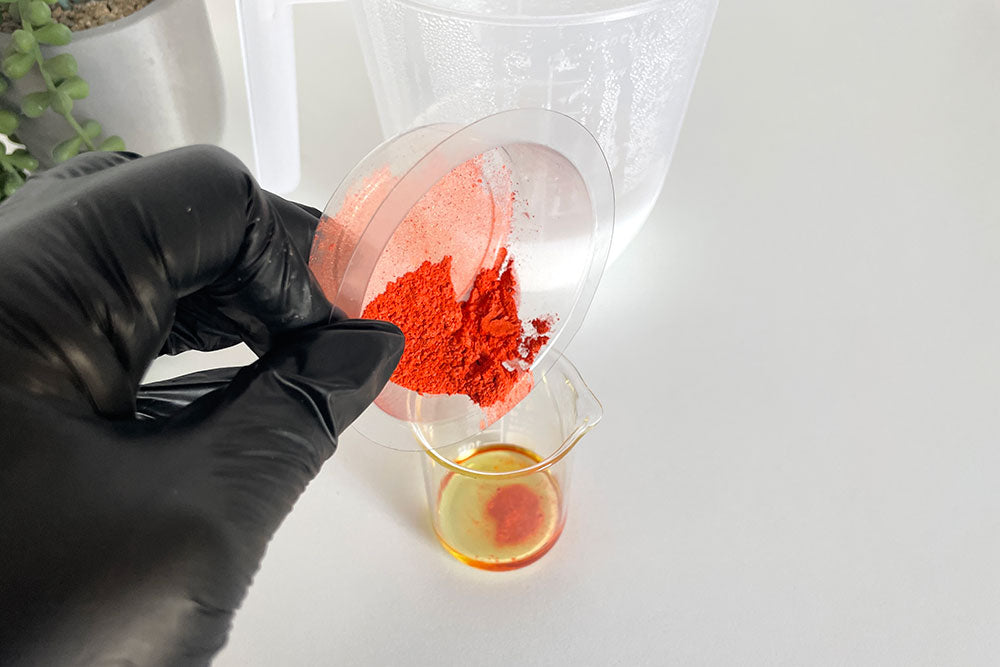
For best results add the mica powder into the fragrance oil first.
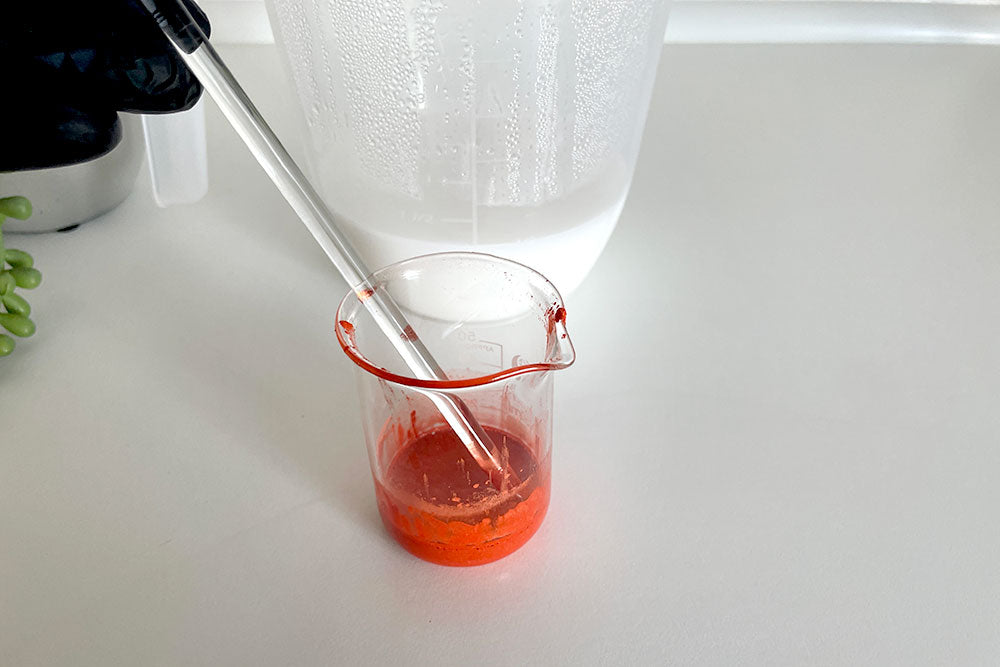
And then stir until fully combined.
Step 4 – Add the fragrance and mica mixture to the base
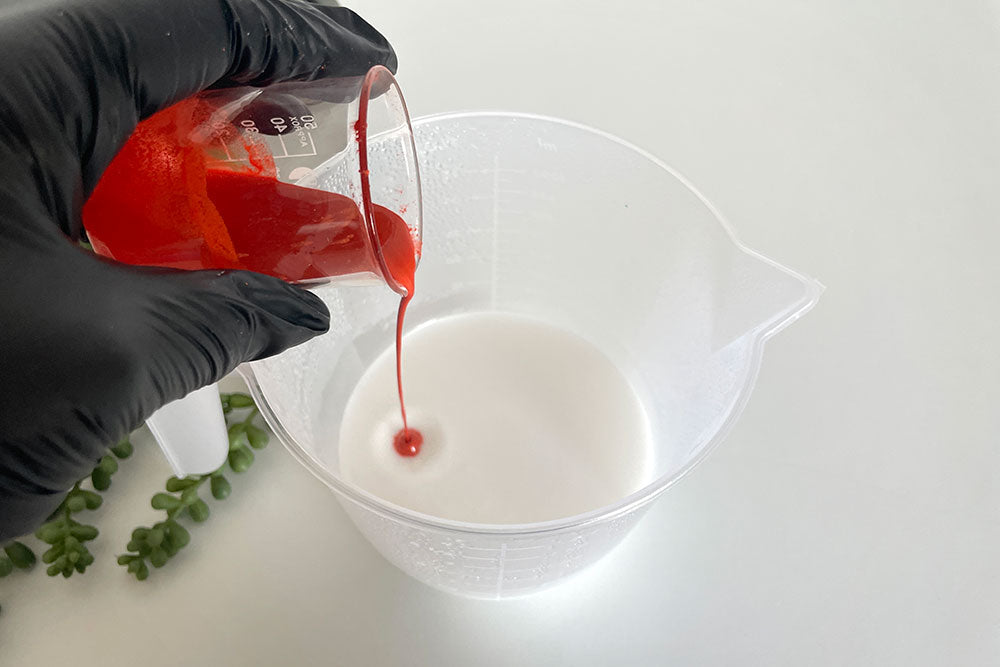
Gently pour the fragrance oil and mica mix into the melted shampoo base.
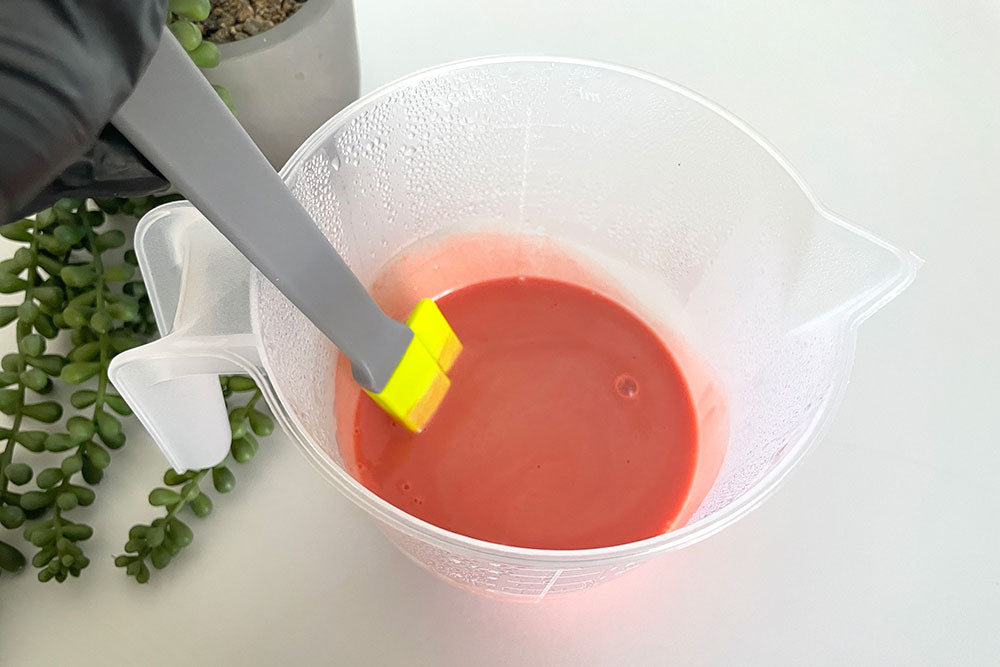
Be sure to stir for a few minutes to make sure it has all fully combined.
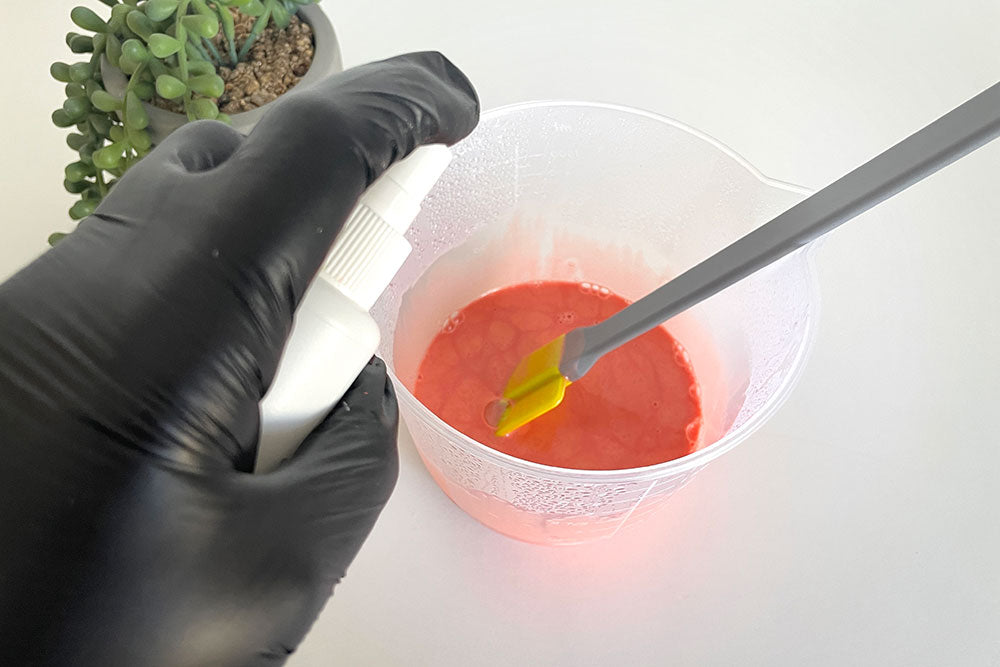
A spray of isopropyl alcohol will disperse any bubbles that form.
Step 5 – Pour into the mould
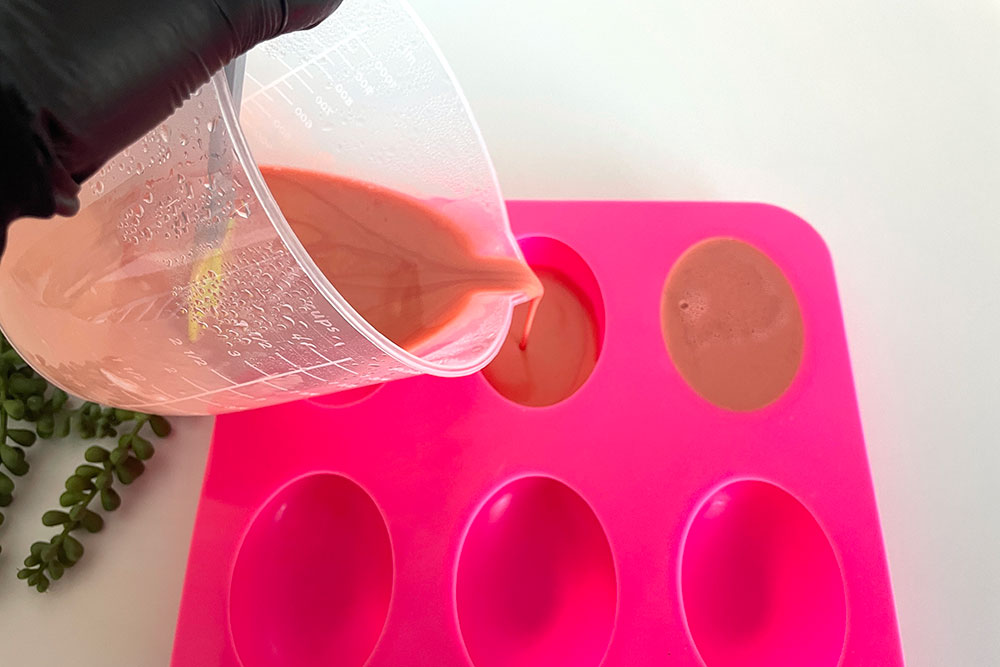
Gently pour the mix into 3 of the mould cells.
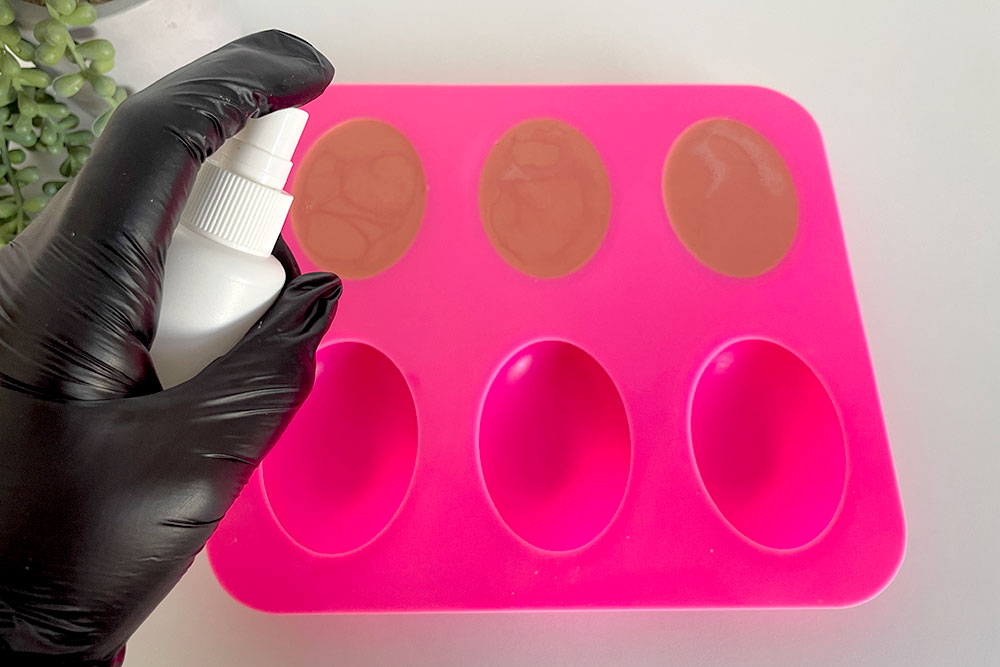
Spray the top with isopropyl alcohol to disperse any bubbles.
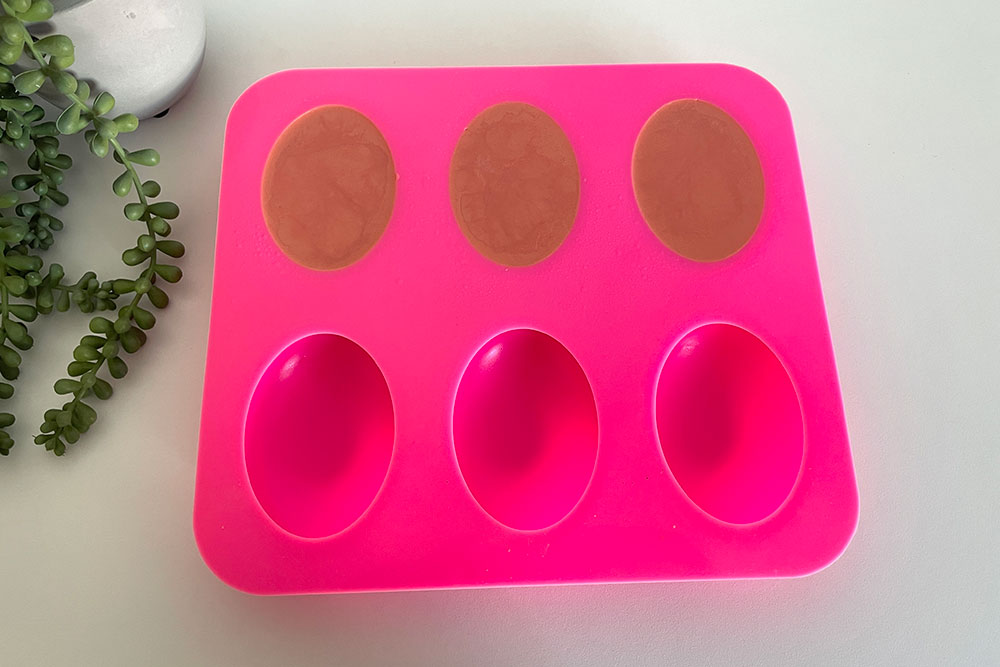
Leave to cool.
Now it's time to start the conditioner bars.
How to Make Solid Conditioner Bars
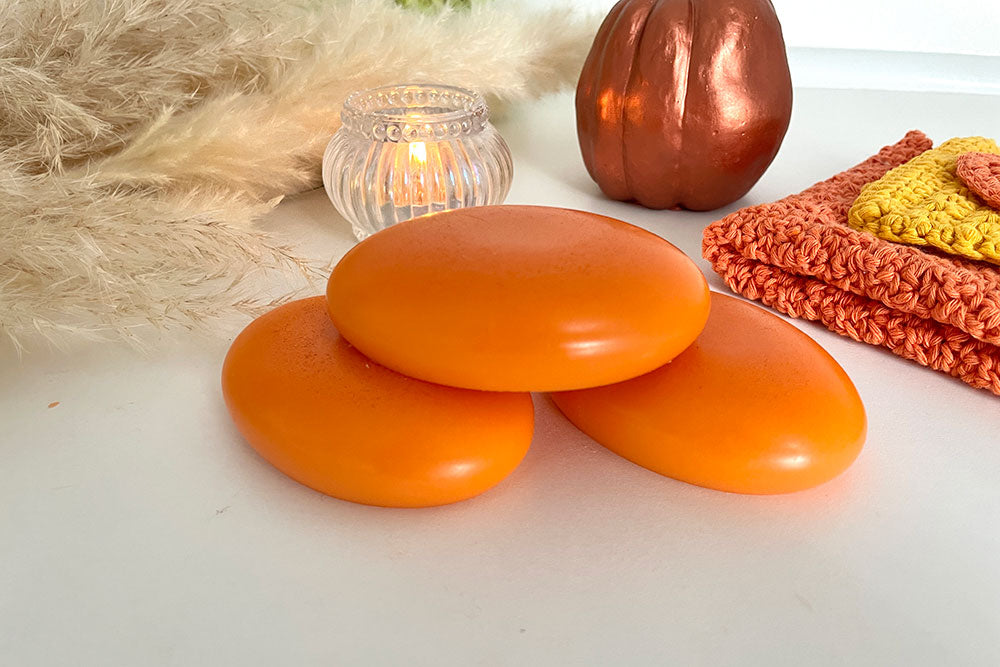
Ingredients
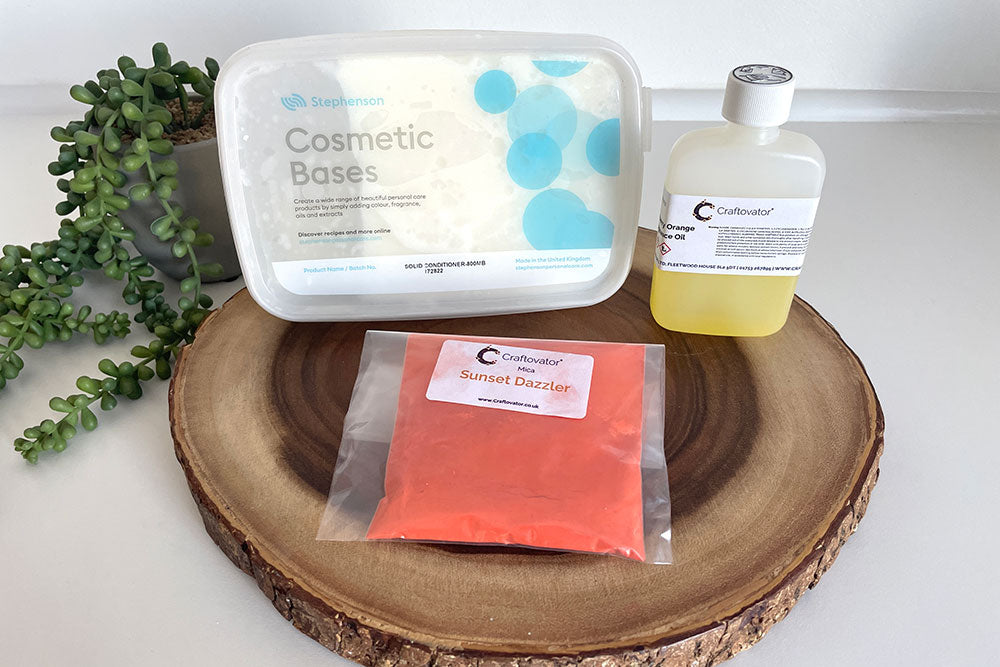
Please note, the equipment is the same as shown above in the shampoo tutorial.
Step 1 – Weigh out your ingredients

Chop up 240g of conditioner base into equal sized pieces and weigh out 7.2g of fragrance oil and 1g of mica powder. Please note that when slicing the conditioner base it becomes quite crumbly, take care whilst using a sharp knife.
Step 2 – Melt the conditioner base
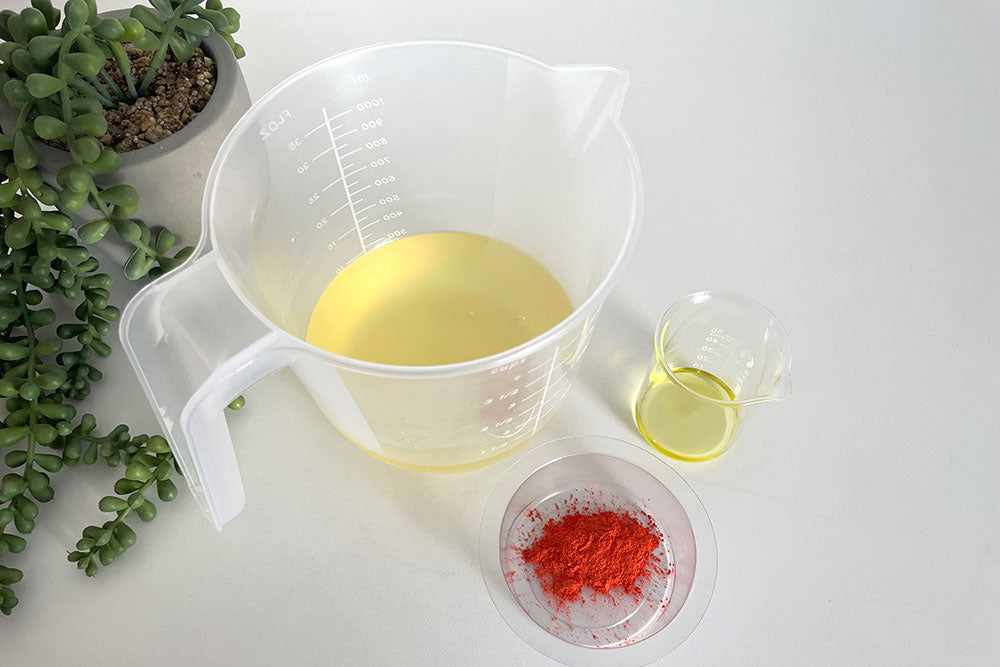
Place the jug of chopped conditioner base into the microwave. Heat the base on short 30-60 second bursts until it reaches 75-80°C. Alternatively heat to the same temperature using the double boiler method.
Step 3 – Prepare the fragrance oil and mica powder
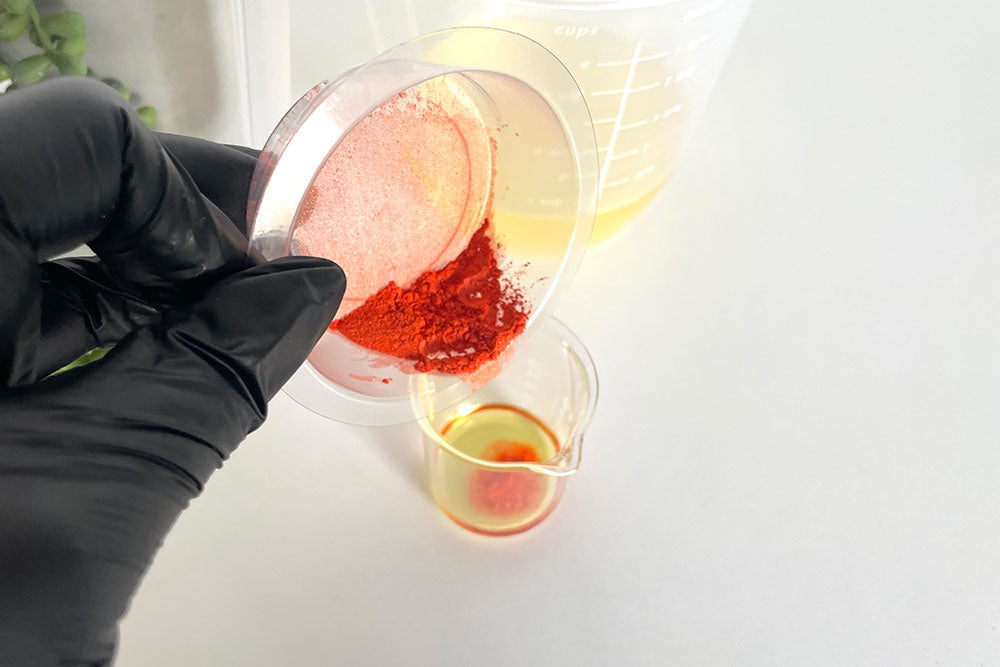
For best results add the mica powder into the fragrance oil first.
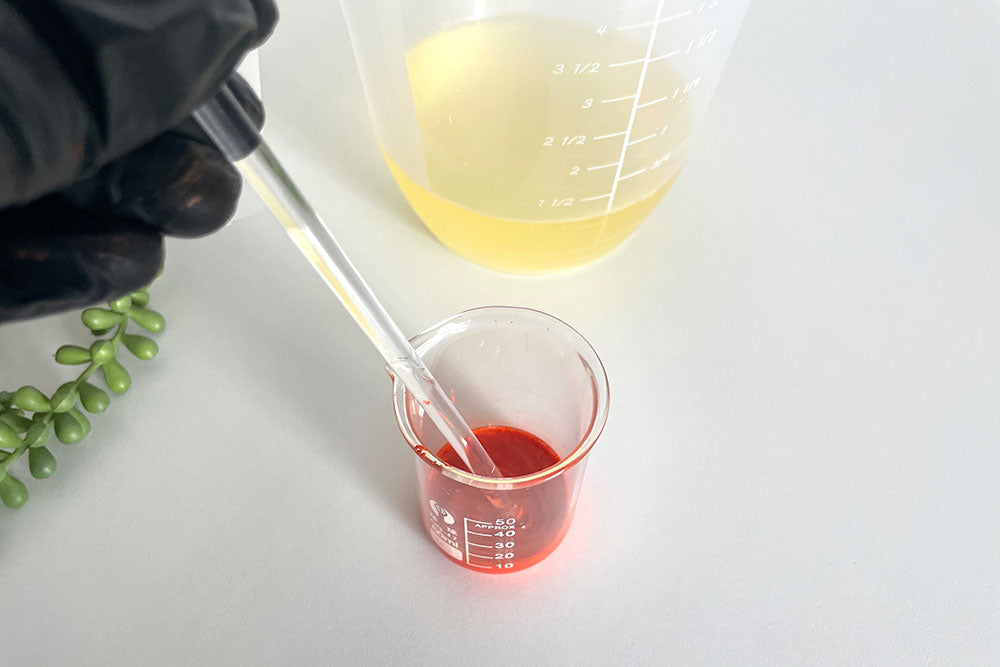
And then stir until fully combined.
Step 4 – Add the fragrance and mica mixture to the base
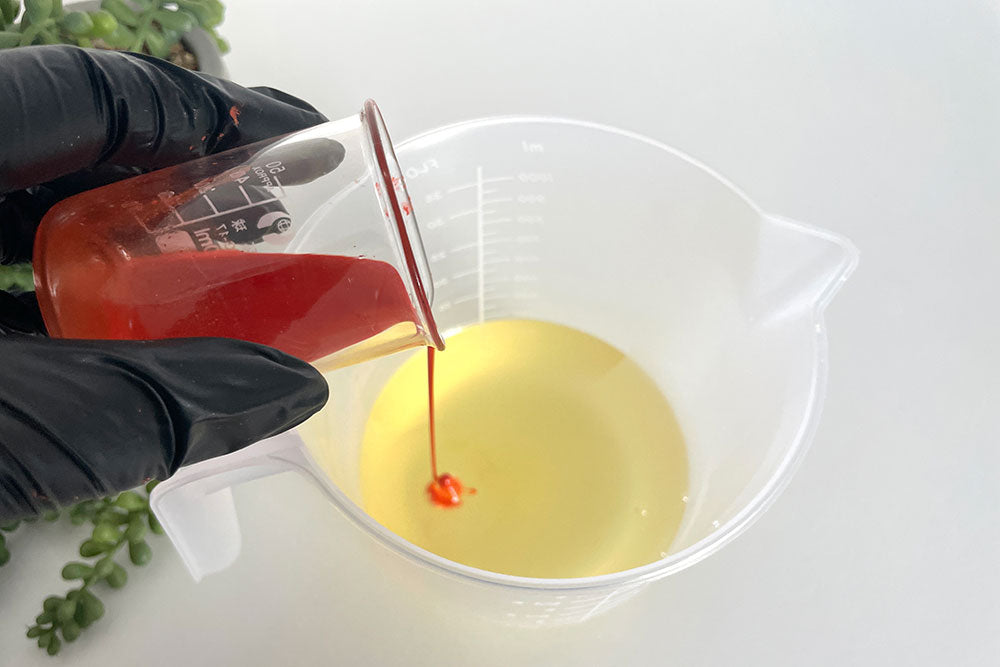
Gently pour the fragrance oil and mica mix into the melted conditioner base.
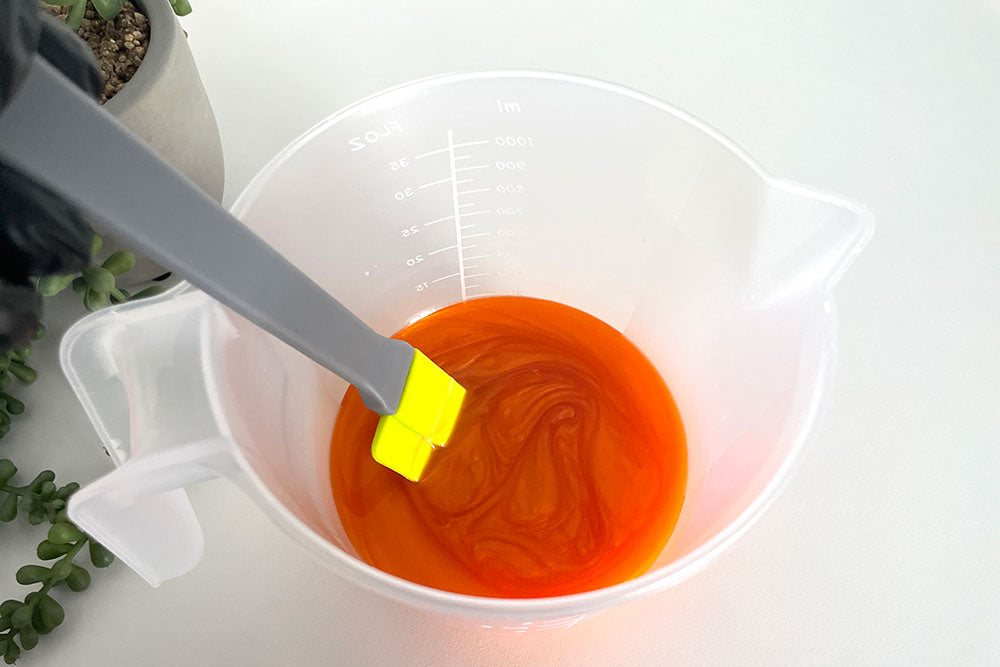
Be sure to stir for a few minutes to make sure it has all fully combined.
Step 5 – Pour into the mould
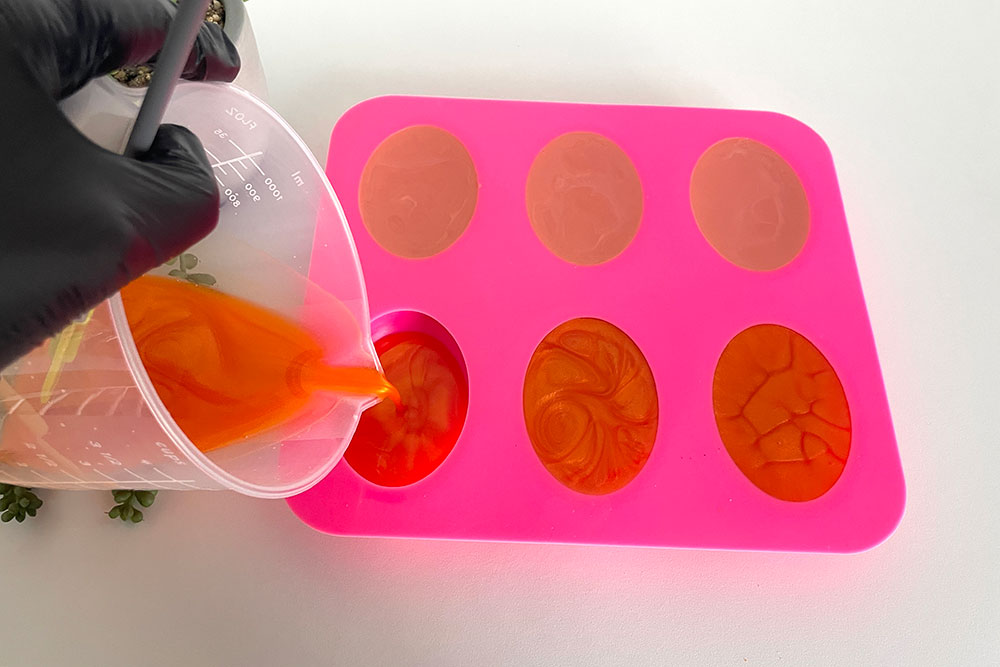
Gently pour the mixture into the remaining 3 100g cell moulds. Leave to cool.
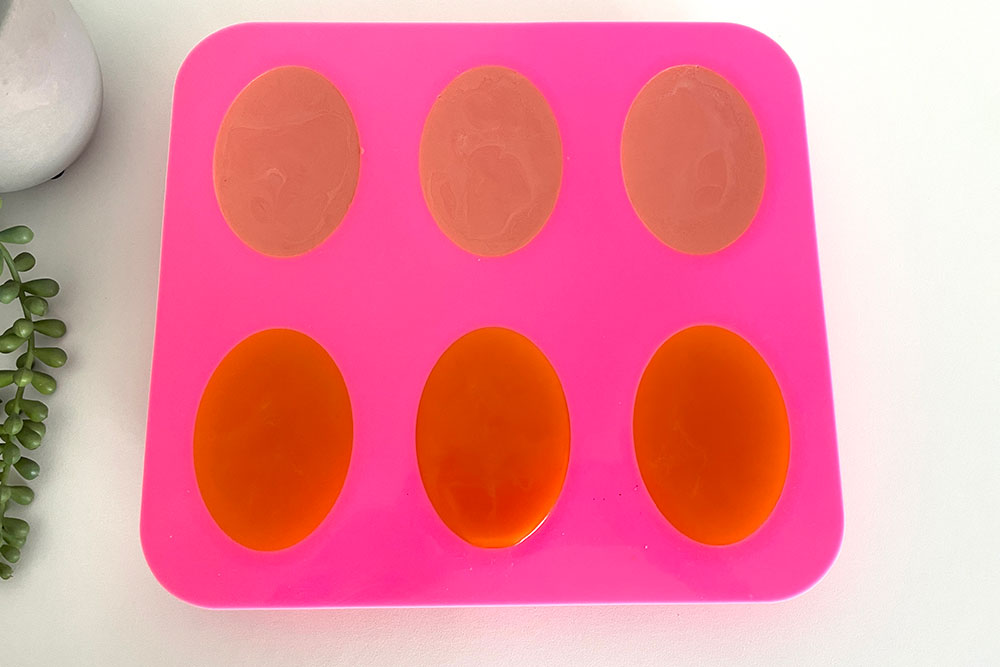
The conditioner base takes a little longer to cool due to the higher melting temperature.
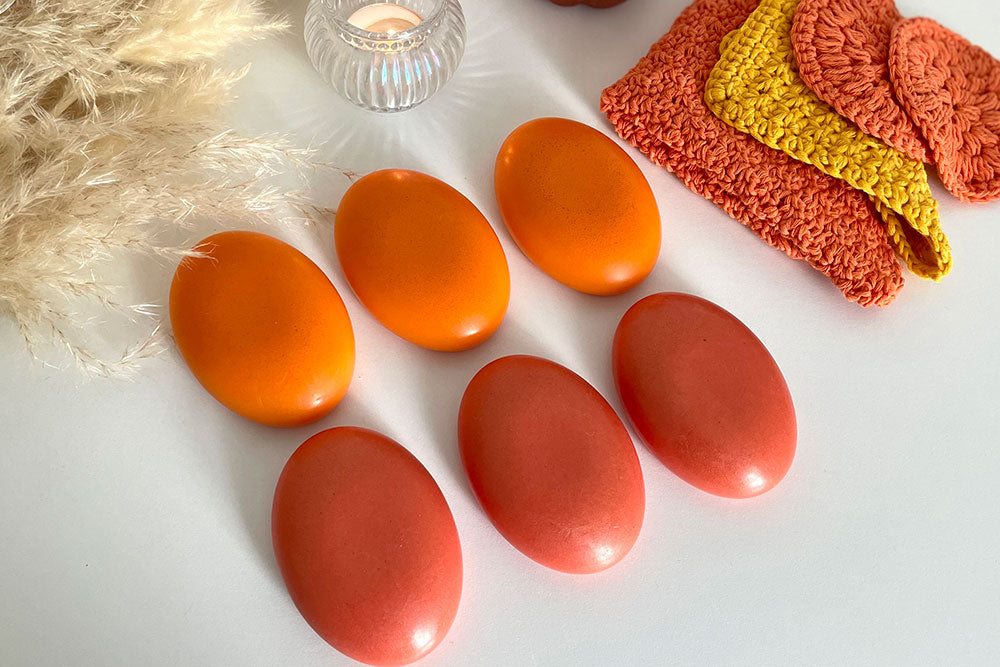
Once both the shampoo and conditioner bars have completely cooled, they can then be unmoulded. They are ready to use immediately.
What’s a solid hair care product?
A solid hair product is basically the same as a liquid version minus the water content. When you are using the solid hair product you use water at the time of washing to activate the concentrated ingredients.
How do solid shampoos work?
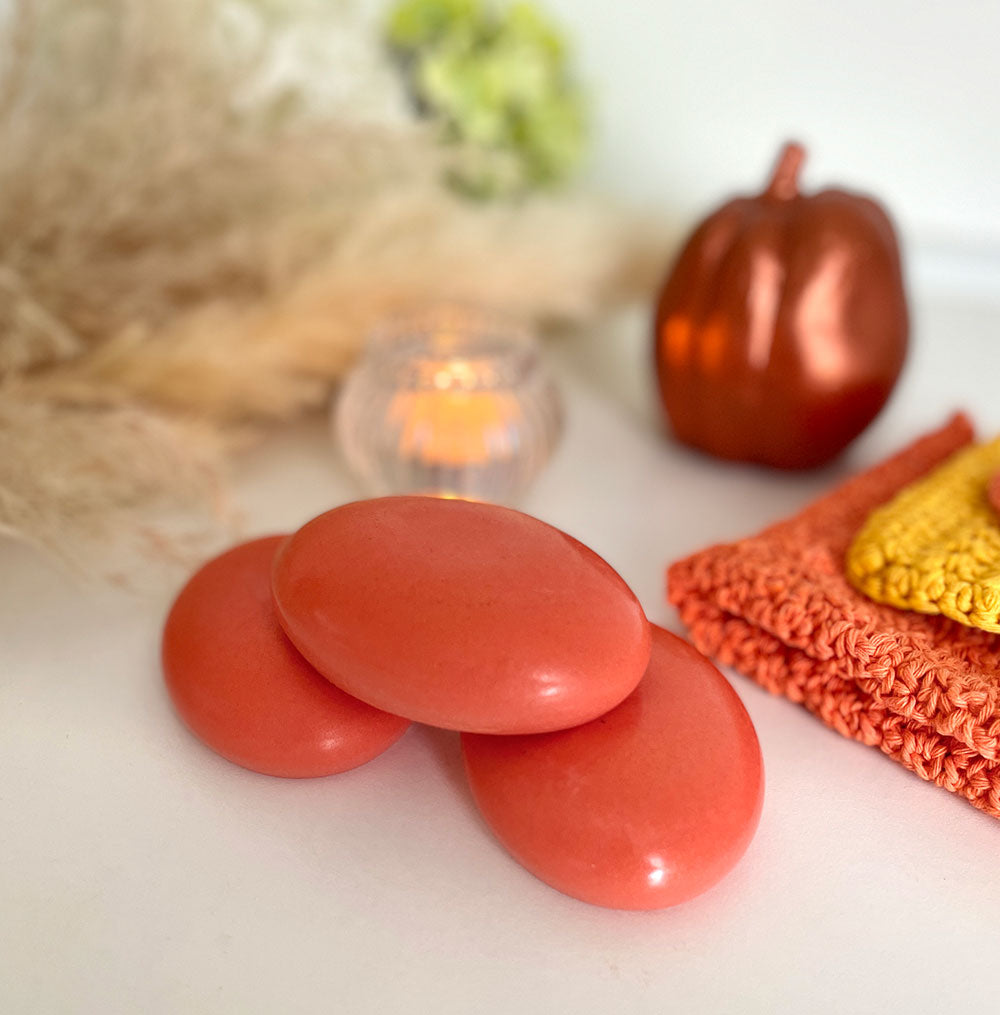
Solid shampoo is made with gentle surfactants which combine with the scalp's oils and grime. All that grease and grime will then be washed away when rinsing your hair as it would with a liquid shampoo. Craftovator's solid shampoo base from Stephenson's is formulated using soothing Aloe Vera and contains great conditioning additives to help look after your hair.
How do I use a solid shampoo?
Simply wet your hair and the bar of shampoo. Then you can either create a lather with your hands (just like using a bar of soap) and apply the rich lather to your hair, concentrating on the roots first OR you can apply the wet bar straight to your wet hair using downward strokes from the roots and then lathering it up.
Rise out as you normally would.
How does a solid conditioner work?
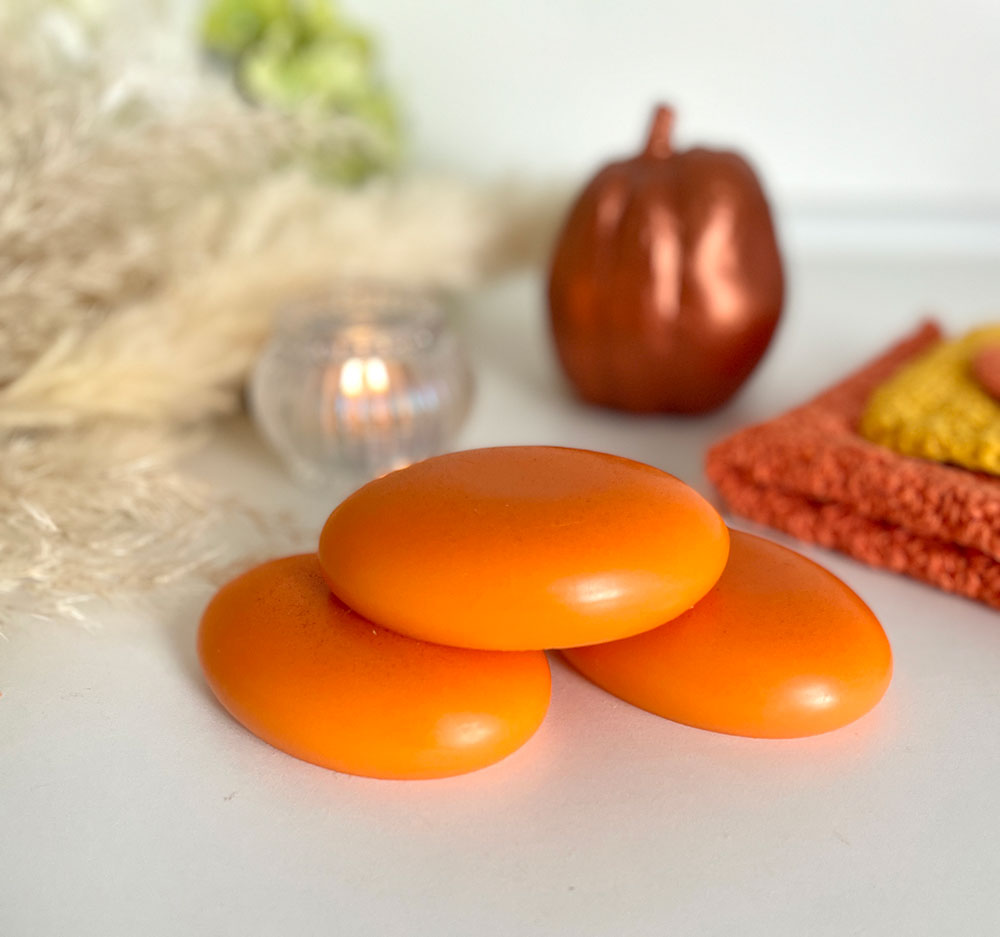
Much the same as a liquid conditioner, by replacing some of the natural oils that are striped from shampooing and to smooth the hair cuticles. Craftovator's solid conditioner base from Stephenson's is specially formulated using natural emulsifiers, shea butter and coconut oil to provide hair conditioning and nourishment.
How do I use a solid conditioner?
Using downward strokes, apply the bar directly onto your wet hair concentrating on the mid-lengths and the ends. Massage in and leave for a couple of minutes as you would with a liquid conditioner.
Rinse out as you normally would.
Can I use a different fragrance in my shampoo and conditioner bars?
Choosing a scent is one of the best parts when formulating a cosmetic product! You can choose from the hundreds of fragrance oils we carry here at Craftovator. However, the most important aspect of safety when using any kind of fragrance or essential oil is to make sure the oil you’ve chosen is skin safe.
In any wash-off cosmetic product, a maximum of 3% fragrance addition is allowed.
To check this, click the link that says ‘IFRA 49th AMENDMENT’ on the fragrance oil product listing to download the document.
Next, check the heading that says, "Certificate of Conformity" and scroll to Category 9. If the IFRA documents states that the safe usage is 3% or higher, then you can use up to the full 3%. However, even if the IFRA document gives a percentage of more than 3%, we would still advise never using more than 3% in any wash-off product. If it shows less than 3%, it's not recommended for use in wash-off products.
Adding colour in your shampoo and conditioner bars
You are able to choose from a wide range of colourants for your shampoo and conditioner bars. Mica powder or pigment colours would work best in these products and it is always recommended to mix your colourant with your fragrance oil or a little carrier oil to help disperse the pigment.
Be sure not to add too much as you made find the pigment sinks to the bottom of your product or it causes spotting. Therefore, your own testing's, in small batches is especially important when making your any cosmetic product.
Would you like to make a cosmetic product range to match your shampoo and conditioner bars? Check out our tutorial for making your own melt & pour soap or learn how to make your own liquid hand soaps. Be sure to check out our entire range of bath and body products too.




1 comment
Leave a comment
All blog comments are checked prior to publishing