


Candle Making Trouble Shooting Guide: How to Fix the Most Common Issues
Candle making can be an extremely exciting and fun activity, but as with any creative project, you may stumble into some problems along the way. Whether the candles have wet spots, they’re tunnelling or smoking whilst burning or have sink holes after they’ve set, just know that the unpredictability is all part of the experience and learning process!
After working with candles for some time, you’ll know and be able to pick out the common pitfalls that are frankly unavoidable for first-time chandlers. Many candle-making problems have been experienced by countless other crafters, many now big brands within the industry, so don’t feel like you’re the only one, it’s perfectly normal!
Always remember that any craft takes time to master, and half the battle is in learning from your mistakes.
Although candle making is very much trial and error, knowing a few tips and tricks can massively reduce the time wasted frantically trying to solve problems and better yet, get the perfect technique. This troubleshooting guide should help you recognise some of the common obstacles and also help you prevent problems too.
Cracking in the Wax
You thought you had carefully poured the wax into your vessels, so why have cracks suddenly appeared?
Cracks in candles can either be a full crack all the way across going through the wick or may show as a circular crack on the surface. This is caused by the candle wax cooling down too quickly once poured. This may be down to the fact that your candle vessels were cold, your room was too cold or that you popped the candle glasses in a fridge or freezer to speed up the setting process.
To avoid cracking on the top of your candles, its best to cool the candles at a steady room temperature of around 18c-20c. You can also pre-heat your candle vessels prior to pouring to help slow down the cooling process.
A gentle blast from a heat gun may be a quick fix for cracks on the surface of candles.
Mushrooming Wick
A mushroom shaped build-up of carbon on the top of your wick occurs when the wax in your candle is burning too fast and the wick is unable to burn the wax quick enough resulting in carbon build up.
The most common reason that you experience a mushrooming wick is down to the size of the wick itself. The bigger the wick used for the size of vessel you have, the more likely you are to experience mushrooming. If you have quite a big mushroom, then you may need to opt for a lower sized wick or a different type of wick altogether as the wick may not be suitable for use in the wax type you’re working with or with the fragrance load added.
If it’s only a slight mushroom, then the reason may be that there is a slight draft. A slight mushroom on the end of the wick really isn’t a major cause for concern as sometimes wicks do mushroom. You may have made 20 of the same candles and a few may mushroom as they burn whereas the others don’t.
Pro tip: Always trim the mushroom off the wick before relighting. If you don’t do this, the wick may spit wax and the carbon upon lighting and your candle flame will also be too high which may pose a fire risk.
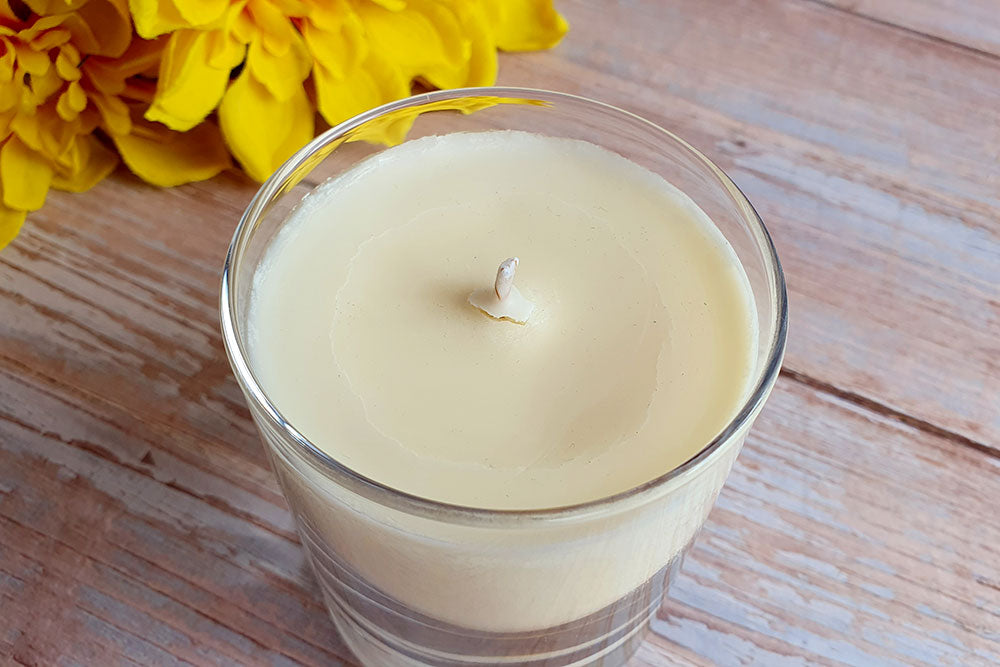
Sinkholes
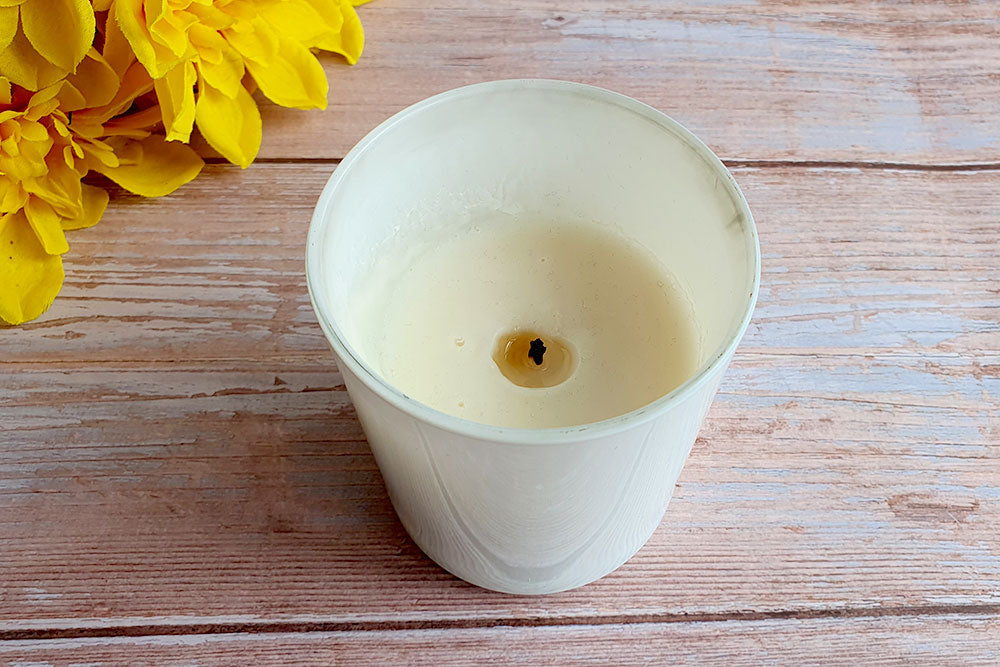
In truth, sinkholes are often unavoidable in candle making. A sinkhole can be described as a ‘hole’ in the wax usually close to the wick. Did you know that wax naturally expands when heated and then as its cooling it shrinks? As the wax is cooling and shrinking, this is when you’re most likely to notice if you have a sinkhole.
To help eliminate or reduce the likelihood of sinkholes appearing, there are a number of things you can do:
- Pour the wax at a lower temperature so that the least amount of shrinkage can occur.
- Pre-heat your vessels before pouring the wax to lessen the amount of shrinkage of the wax during the cooling process.
- If you notice there’s a sinkhole, you can poke a few holes around the wick and gently heat the surface of the wax with a heat gun until it is completely level again. Do take care with this method, however.
Air Bubbles on the Candle Surface
Do your candles have tiny bubbles on the surface when poured?
Those pesky little bubbles can often ruin the hard work and time you have invested in any candle making project. Luckily, there are a few steps you can take to prevent these air bubbles from forming.
The first step you should take is to be certain that the vessels are completely dry before pouring the wax. Water residue may be the cause of the air bubbles on the surface of your wax. If it is water, then sadly your candle is ruined. It really wouldn’t be worth the risk of burning it as water in wax can cause the wax to spit and pop.
If you’ve determined that no water was present in the vessel, then another possible reason for the air bubbles is that you poured the wax at too low a temperature or too fast. Next time, try pouring the wax a little hotter and slower than the first time to see if this resolves the issue.
Pro Tip: You can also tap the jug on your work surface a few times before pouring to help disperse any air bubbles that have formed whilst the wax has been cooling to pouring temperature.
The Candle Has No Smell
So, you’ve lit your candle but you’re struggling to smell the scent coming through. This could be down to a number of things:
- You haven’t cured the candle for long enough. All waxes have a specific recommended curing time frame that you need to allow before lighting. Paraffin waxes may only need around 72 hours whereas soy and other vegetable waxes may require 1-2 weeks. This allows the fragrance oil to bind with the wax and wick, in turn providing the best scent throw once lit.
- You may have added the fragrance oil to the wax when it was too hot or cold. Each wax comes with recommended temperatures for melting, adding fragrance oil and pouring. Knowing exactly when to add the fragrance oil is crucial in getting the best scent throw from your candle.
- You’ve added too much or too little fragrance oil. It’s important to know just how much fragrance oil you can add to your wax. Some waxes only hold a maximum of 6% so if you then add 10%, you’re not going to get the best scent throw. It’s also best to opt to use a percentage that is lower than the maximum recommended as candles don’t usually require the full fragrance load percentage. If your wax states 10% maximum, then opt to test at just 8% as a starting point. You’ll find that some fragrances require a lower percentage and some work best with a higher percentage.
If you still smell nothing after troubleshooting the above possibilities, then it may be the wick you’ve used. You may need to trial a few different types and sizes of wick to find the best one for your candle creation.
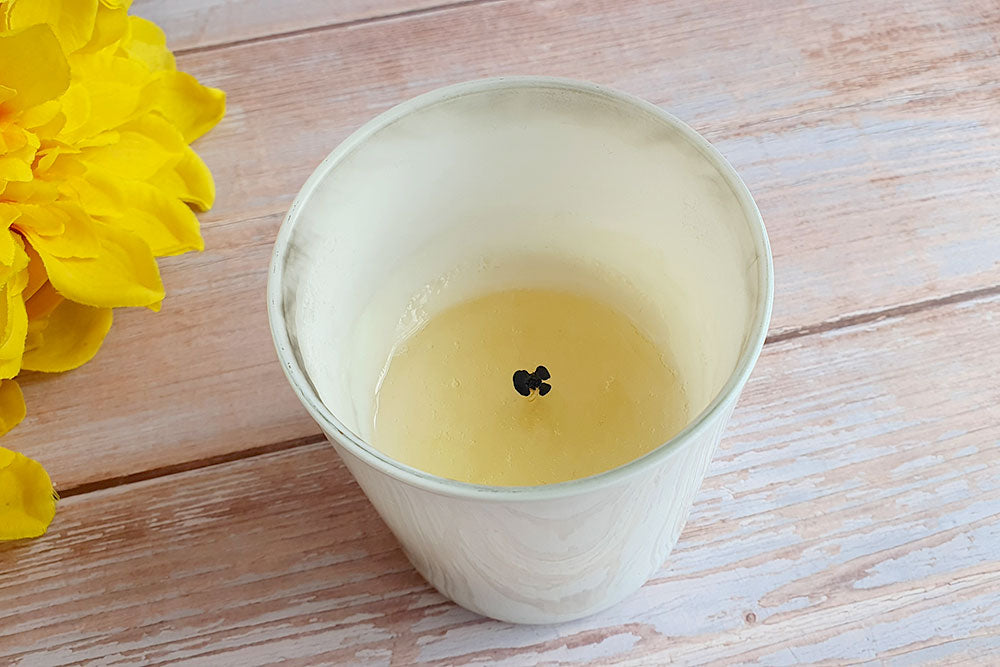
The Wick Extinguishes Itself After Lighting
You’ve lit your candle but after 10 minutes, the wick suddenly goes out.
The main cause of this is often that you’ve cut your wick too short before burning. If this is the case, you can light the wick again and then gently tip the molten wax around the rest of the candle. The reason the wick goes out in this instance is because the molten wax is pooling and drowning the wick. If this still happens, then it may be that the wick you’ve used is too small. You’ll need to remake the candle with a bigger wick.
Another possible reason for your wick going out is that the wick is clogged from the usage of foreign materials such as mica powder, glitter or botanicals or even from using too much candle dye. We would highly advise against the usage of mica powder, glitter or botanicals in candles as these won’t allow your candle to burn to its full potential and may also pose a fire hazard. You can also try reducing the amount of candle dye you use.
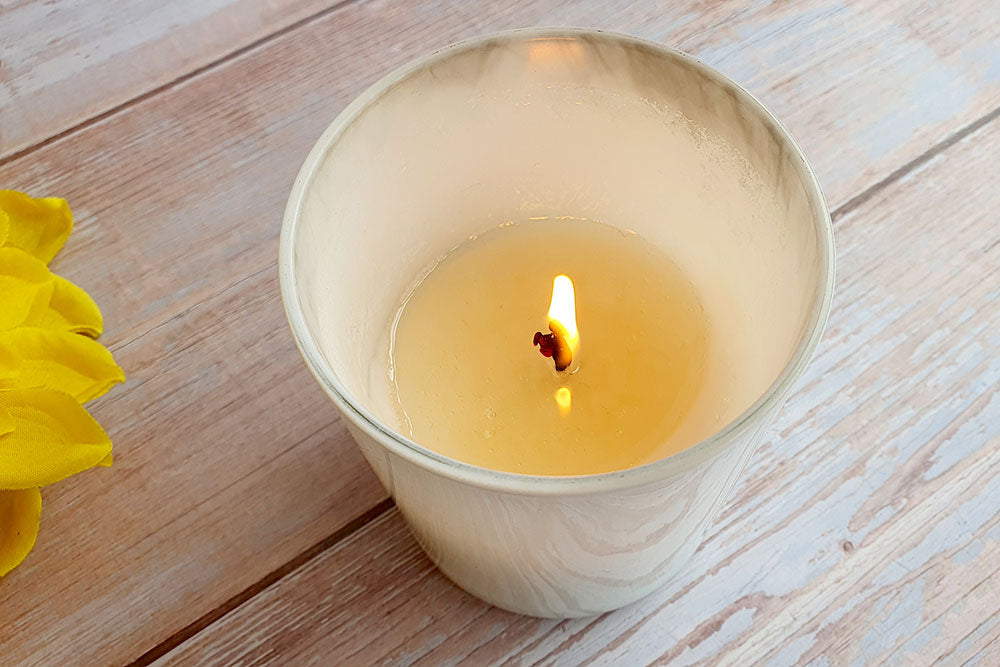
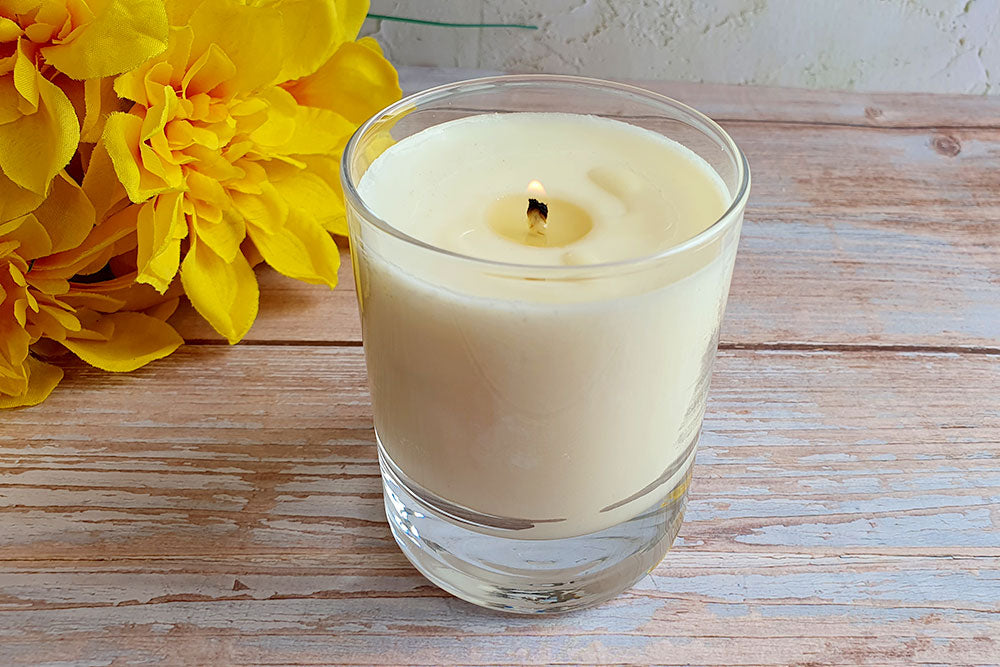
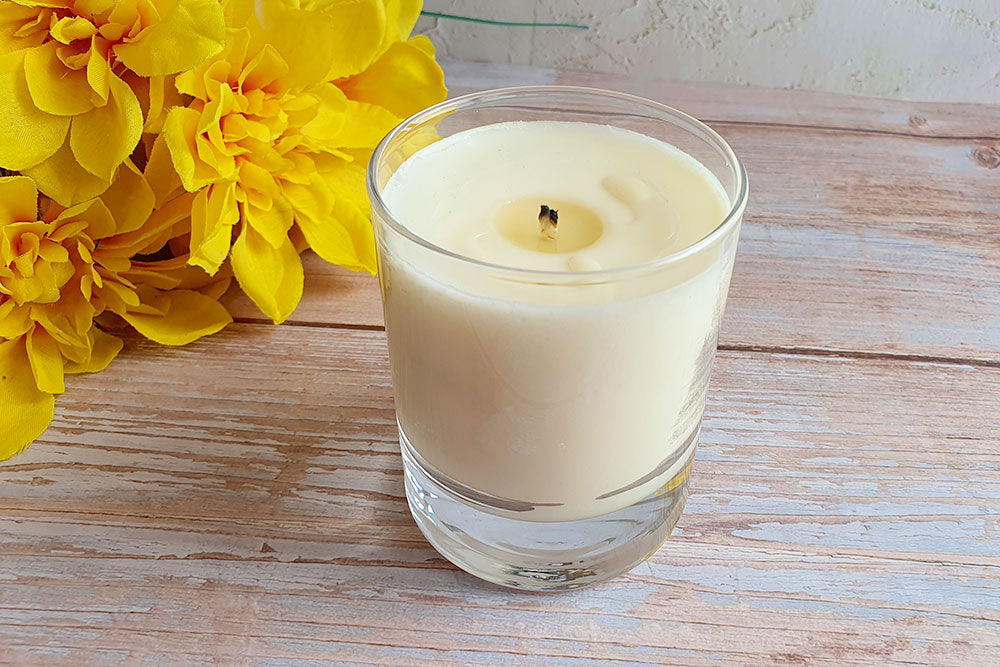
The Candle is Tunnelling
Tunnelling occurs when the candle wick is consuming too much fuel, at a rate that it can’t burn off effectively. Instead of the candle wax melting towards the edge of the vessel, it burns down the middle, causing a tunnel that leaves most of the solid wax around the edge which doesn’t melt. The cause of this is that the wick is far too small for the vessel you’ve used, or you’ve only had the candle lit for a short amount of time.
Getting the wick size just right will ensure the candle burns properly without issue. To fix a tunnel, you will need to make another candle using a bigger wick and keep increasing the size wick until you have a candle that burns as close to the edge of the vessel as possible.
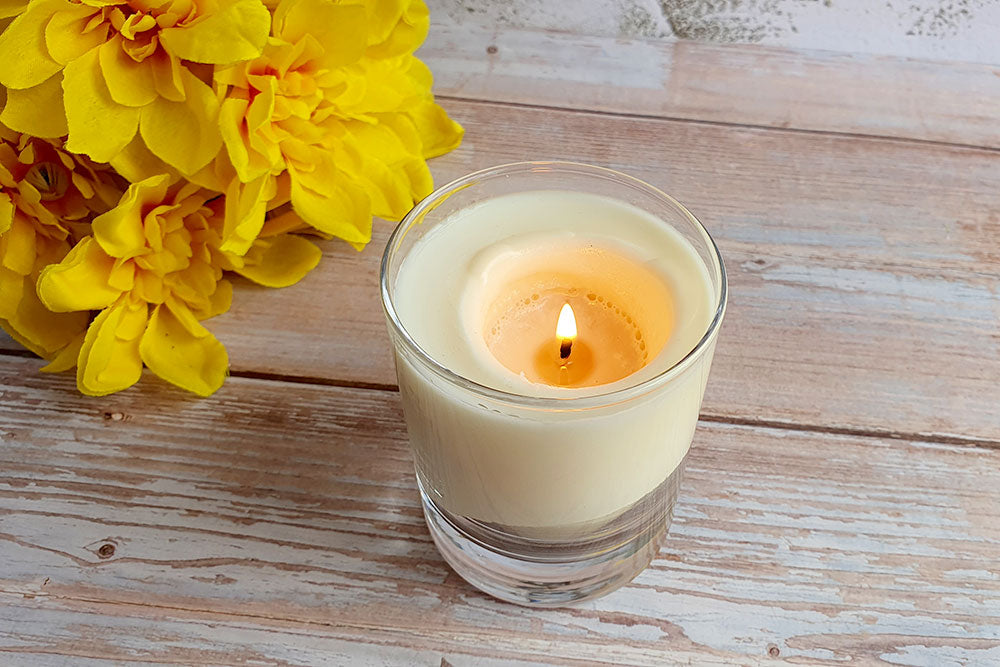
Pro tip: It’s recommended to burn your candle for around 3-4 hours on the first burn so that the candle wax can reach as close to the edges as possible. If you only burn for 30-60 minutes, then this may result in the candle forming a tunnel the further down it burns.
Wet Spots

Wet spots show as a patch on your glass where it appears the wax has ‘pulled away’ whilst it’s set. This may also happen during the curing process or even months down the line when the candles are stored. A wet spot if basically where the wax hasn’t adhered to the glass properly.
To eliminate or reduce the likelihood of wet spots appearing there are a few things you can do:
- Pre-heat your glasses before pouring.
- Lower the pour temperature to allow less shrinkage of the wax as it cools.
- Ensure the glass is washed and dried thoroughly before use.
As with sinkholes, wet spots are often unavoidable and even high-end candle brands experience wet spots. It doesn’t affect the burn or quality of the candle in any way and can be covered by labels.
If you still get wet spots after trying the above suggestions, then you can gently heat the outside of the glass with a heat gun to warm the wax back up which will get rid of the wet spot however, they may return.
The Candle Flame Emits Smoke Whilst Lit
Smoke coming from the wick whilst its burning can be a sign that the wick is too large, there’s too much fragrance oil added or that the wick hasn’t been trimmed to 5mm before lighting. This is quite an easy fix, and it may only be that you’ve simply not trimmed the wick enough.
If the smoke still occurs after trimming the wick, then you would need to take a look at the percentage of fragrance oil you’ve used and remake the candle at a lower percentage to see if this solves the problem.
Smoke may also emit from the candle flame if the candle is placed in a draughty area. Where the candle is placed whilst burning will affect how it burns overall. Excess smoke from the wick may also cause soot residue on the edges of the vessel, the further down the candle burns.
Frosting
Like other aspects of candle making, frosting can’t be helped especially when using soy waxes. Frosting is basically your wax attempting to return to its natural state and looks like white crystallisation patches on the wax.
Frosting can and will occur at any point and sometimes nothing can be done to stop it, but there are some tips that may help you to reduce the likelihood of it occurring:
- Take the oil percentage down by 1-2%.
- Use a harder wax such as paraffin or a blended wax. 100% soy wax has a tendency to frost so adding some paraffin to it may help keep the frosting at bay.
- Allow the wax to cool slowly. You might need to move where you make your candles to a much warmer area to accommodate this. If the wax has cooled too quickly, frosting becomes more noticeable.
- Don’t use candle dye. Colouring can actually make frosting show more especially in darker colours. If opting to use colour then be prepared for some frosting although it can be reduced by adding the dye to the wax as hot as possible, such as when it’s just melted and ensuring its mixed in thoroughly.
Don’t fret if you experience frosting however, as it really doesn’t affect the burn or quality of your candle, it’s purely an aesthetic detail. Some vendors love the effect of frosting whilst others may feel the need to cover it up or change waxes completely.
As stated at the start of this guide, candle making is reliable upon heavy testing. Trial and error are the only ways you can find what works best. It’s highly recommended to experiment fully with your candle making supplies and equipment and simply put, test. There really is no such thing as too much testing!
After some time invested in testing, you’ll soon have the process fine-tuned and your candles will be masterpieces in no time.
We hope this guide gave you some insight into the most common issues surrounding candle making and provided you with solutions and tips to help you out further on your making journey.
Once you've cracked these common issues, why not check out our Ultimate Guide to Selling Your Candles?
Not Sure Which Fragrance To Use On Your Next Candle? Try One Of Our Best Selling Luxury Fragrances
40 Comments
Hi. Thanks for the tips. My problem is that 2-3 weeks after pouring the candles (wax) in containers increase in size. What could it be? Kerasoya Container Wax, Craftovator Pine Oil
I am not getting the hang of this candle, making I have experimented with different brands of wax, mica, and oils adding 8-10% oil in soya wax. Every time I’m getting no scent throw when lit and alot of tunnelling. So I tried your candle making packs, with your method and the smaller 20cl candles it seemed to be a little better and I used different scents the one that came with it (opium) and your silver Mountain one, it wasnt a huge scent throw but I could just make one out.
I used the wicks as suggested for the size of the container the 20cl I used the size 10 that came with the pack.
But on the the larger ones 30cl with the size 16 wick same method etc I’m getting major tunnelling again just straight down the middle and no scent throw. I also have a candle maker and using a double boiler to melt my wax. I’m about to give up on the Candle making endeavour as it’s so dissapointing, especially when I wait 4 days to lit them after the excitement of making them. I used the same method for both but I’m still not getting the right results.
What is it that’s going wrong?
Melanie
Hi I’m not sure what it is I’m doung wrong then. I’ve seen your reply to my message above but I am still having the same problem?
This time I’ve bought your candle making pack. I followed your method.
I used the wick you suggested for the 20cl vessel but, it tunneled badly again and again no scent flow.
I did another 20cl with you opium scent amount used as directed in the method still no scent flow.
I’m about to give up on making
Candles as I don’t seem to be having any luck at all.
I also have a candle making thermometer.
I have tried everything possible to fix my candles and prevent them from cracking. The cracks are visible through the glass jars. I’ve tried changing pour temps, jars, room temp…etc. the only thing haven’t changed is the type of soy I’m using. Is it possible that the brand being used can be a factor?
Hi Melanie, So it sounds like there may be a few issues happening. If it’s burning straight down the middle, you haven’t used the correct size wick (it’s likely too small a size for your vessel).
You can read more about choosing the correct wick in our post here – you’d be going by the diameter of the vessel you’re using and what kind of wax to find your correct size: https://craftovator.co.uk/blogs/academy/how-to-choose-the-correct-wick-for-your-candle
The wick will have a lot to do with scent throw (you need a good melt pool to get a good scent) so choosing the correct wick for your vessel should help with this.
In terms of the wax not adhering to the side, you may have also chosen the wrong kind of wax. You’ll need a container wax rather than a pillar or wax melt wax (these are made to shrink slightly so they can be removed from moulds). A container wax will adhere to the sides.
We’d recommend checking out our post on How to make your first candle which will help in terms of choosing your wax, fragrance oils etc: https://craftovator.co.uk/blogs/academy/how-to-make-your-first-scented-candle
Hope that helps and good luck :) Kimberly – Craftovator