


How to Make Your First Scented Candle: The Perfect Beginner's Guide
If you’ve ever wondered how to make your own scented candles, then look no further. Our beginner's tutorial will talk you through the process and options available as well as show you how to make your own Coconut & Waterfall Blooms scented candles.

Chandlery (candle making) dates back thousands of years, when having a light source was a true necessity. Historically, the main use of a candle was to provide light in homes and in some instances, heat. Nowadays however, due to modern technologies, candles are predominantly used as decoration or for ceremonial purposes.
Whatever the occasion, a scented candle can instantly set the tone. Whether you’re settled down for an evening watching your favourite movie, having a well-deserved soak in the bath or you’re entertaining friends, a scented candle can provide the most pleasant aroma filtering through in the background. There’s also nothing quite like the glow emitting from the dancing flame, especially on darker evenings, making you feel all warm and cosy.
Watch the video below to jump straight in - or, if you prefer, there are written instructions down below. Read further to learn the secrets of making your very first candle and what you need to know before you begin.
If you're ready to try to make your own candles, our tutorial below will make it easy for you to get started on your candle-making journey.
Difficulty Level: Beginner
Makes: 1 x 20cl Candle (approximately 32 hours burning time)
Ingredients and Materials Needed

- 147.2g KeraSoy Container Wax 4130
- 12.8g Coconut & Waterfall Blooms Fragrance Oil
- 1x Karen 20cl Clear Glass
- 1x Wedo Stabilo Pre-Waxed Wick in size 8
You'll also need:
- Digital weighing scales
- Stainless steel or glass pouring jug
- Milk or digital thermometer
- Metal spoon
- Melting pot
- Pan
- Wick stickers or glue dots
- Wick centring tool
- Kitchen roll to protect your work surface
- Nitrile gloves (or similar protective gloves) and an apron. We’d also highly recommend the use of a chemical mask
Top tip: Before starting, make sure your work surface is covered and you’re wearing the correct PPE as stated in the materials needed above. This is to avoid skin/respiratory irritation from the fragrance oil and to protect your clothes from any splashes.
Step 1 – Prepare Your Candle Glass

Wash your candle glass in warm soapy water before use. This ensures there is no dust or other residue on the glass that may have formed whilst in storage/transit.
Make sure the glass is dried thoroughly once washed.
Once the glass is washed and dried, take your wick and put a glue dot on the underneath of the sustainer (the metal base of the wick), place it in the centre of the wick-centring tool and pull into the slot. Place in your glass, making sure to position the centring tool correctly on the rim of the glass. Adhere the wick to the glass base by gently pushing down on the metal sustainer. Pull the wick up carefully if it’s bending in the glass, ensuring it’s as straight as possible.
Step 2 – Weigh Out Your Wax

Place the melting pot on your scales and turn on. Make sure the scales are set to weigh in grams. Weigh out 147.2g of wax.
Step 3 – Melt the Wax

Half fill your pan with cold water and place on your cooker/stove top. Sit the melting pot on top of the pan. Turn the hob/ring on and set to a medium - low heat. This is called the double-boiling method.
Top tip: The water in your pan should be no more than halfway up your melting pots bowl.

When the wax starts to melt (a visible pool of wax is forming), place the thermometer in the wax to check the temperature. Once the wax has fully melted and reaches 80c, turn the hob off and take the pan off the heat.
Top tip: Don’t leave your thermometer in the melting pot whilst the wax is melting as it will get hot from the water steam. Keep adding the thermometer to the wax at melting intervals to check it's not getting too hot.
Step 4 – Adding fragrance oil

Transfer the molten wax to a pouring jug and wait until the wax reaches 70 degrees centigrade.
Place the jug on your scales and turn on. Add 12.8g of Coconut & Waterfall Blooms fragrance oil.

Stir continuously for around 90 seconds to ensure the fragrance oil is thoroughly mixed into the wax.
Step 5 – Pouring the wax into your candle glass

After stirring, allow the wax to cool to 55-60 degrees centigrade.
Gently tap the jug on your work surface a few times to knock out any air bubbles within the wax and then start to fill your candle glass, pouring slowly.
Top tip: We recommend pouring the wax closer to the glass and not against or too close to the wick. This will reduce the likelihood of sink holes or bubbles appearing once the wax has set.
Once you’ve poured the wax, check that the wick isn’t bending too much. If it is, you can simply give it a little pull to straighten up. Be careful to not pull too hard!
Step 6 – Leave to set

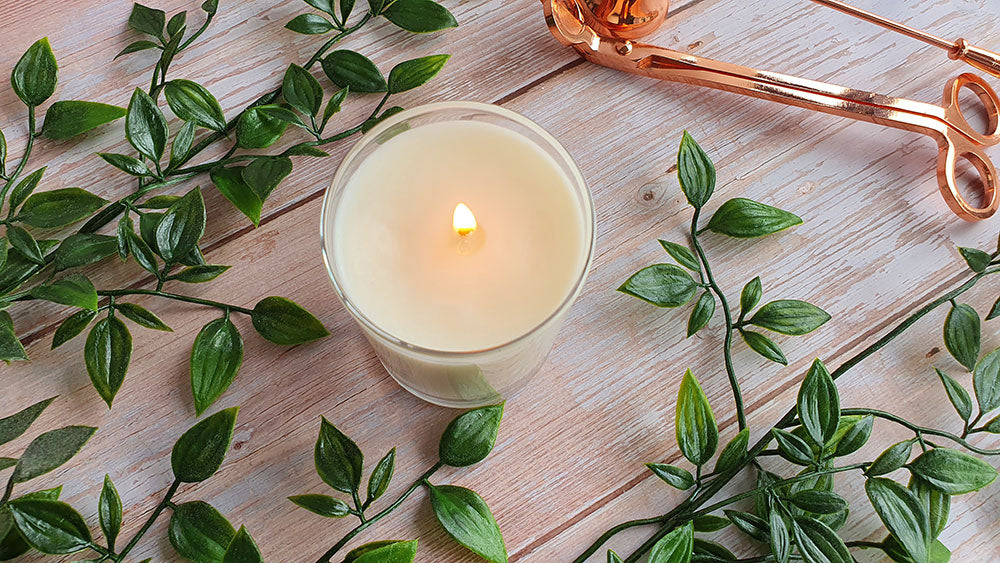
Allow the wax to set fully before moving or touching the glass – usually around 2-3 hours. Once the wax has hardened, you can remove the centring tool, being careful to not pull on the wick. Trim the wick to 5mm with wick trimmers or scissors.

Your candle is now made and will be ready to burn in 10 days. Place the candle in a cool, dry area away from any heat or light sources to cure until it is ready to use.
Top Tip: On the first burn, always allow the candle to burn for 3-4 hours. This will allow the wax to form a melt pool that reaches as close to the glass edges as possible. Remember to also trim the wick to 5mm before every burn thereafter.

With this tried and tested recipe, you may not notice a full melt pool on your candle until the third or fourth four-hour burn. It’s perfectly normal to not get a full melt pool on the first burn. The thin layer of wax on the glass will melt away the further down the candle burns.
Based on our tests of burning for 4 hour intervals, your candle should last around 32 hours in total.
Which Wax Should I Use to Make Candles?
There are a vast number of different waxes on the market right now and no doubt choosing the right one can prove to be quite the challenge. For making candles, we’d recommend using a container wax as these are softer in form, creamier in texture, often have good to excellent glass adhesion properties and will burn more effectively in vessels when paired with the correct wick type and size.
You can get container waxes in many forms such as paraffin, soy and even other vegetable-based waxes such as coconut or rapeseed.
For this tutorial, we’ve chosen to use KeraSoy 4130 Soy Blend Container Wax. This soy wax is very easy to work with which in turn makes it a great wax for beginners.
Which Scent Should I Choose for Making Candles?
We have a huge range of over 500 professional grade, high quality fragrance oils that can be used in your candle making projects. There really is no right or wrong fragrance you should use, and we believe fragrances are subjective that its entirely down to personal choice.
For this tutorial, we’ve chosen to use Coconut & Waterfall Blooms fragrance oil, which is a fresh ozonic floral fragrance with notes of sea salt, marine and soft aldehydes leading to a heart of soft coconut and peach with floral tones of lily, rose, freesia and jasmine on a base of sandalwood, musk and amber, perfect for adding fragrance to any room in your home.
How Much Fragrance Oil Should I Use in My Candle?
Due to the high strength of our fragrance oils, we advise a usage percentage of between 5%-10%. Each oils strength varies which means that some fragrances will perform better at a lower percentage and others will benefit from being used at a higher percentage.
We do advise thorough testing to be undertaken so that you can find the percentage that performs best for the fragrance oil you’ve chosen. Always check the waxes recommended maximum percentage load first before you choose how much fragrance to use!
For our scented candle, we’ve chosen to use Coconut & Waterfall Blooms fragrance oil at an 8% fragrance load. The KeraSoy Container wax we’re using holds up to 10% however, to make things easier we’re using a tried and tested recipe which calls for just 8% fragrance load as we’ve found this works best.
We’ll be filling one 20cl Karen glass with this amazing fragrance. Since we know that the 20cl glasses hold around 160g of finished product. 8% of the overall mixture would be made up of the fragrance oil.
For this tutorial we’ve used 147.2g of soy wax and added 12.8g fragrance oil to give 160g of total mixture (160g x 0.08 = 12.8g).
Top tip: Always remember to weigh your oil and wax in grams as each oil's individual densities cause them to weigh more or less than their millilitre quantity. 12.8ml of fragrance oil for example when weighed out in grams could vary by quite a wide margin. It may be as little as 9g and may even go up to as much as 16g!
What Wick Should I Use in My Candle?
When it comes to candle making, a major factor (and probably the most difficult one) to take into account is the type and size of wick you use. The same type/size wick may not work with every fragrance oil.
Fragrance oils have individual densities so some fragrances may work better with a slightly bigger wick, some fragrances may work better with a slightly smaller wick. Some fragrances may even require a different type of wick altogether!
The wick you would need is also dependant on the wax type and glass size you’re using. There is no universal wick unfortunately so testing with different types and sizes is highly advised.
For this tutorial we’ve used a Stabilo 8 wick. This wick has been tried and tested for the glass, wax and fragrance oil combination we’re working with.
Can I Burn My Candle Straight Away?
Every wax will need some time to 'cure' which is a set amount of time you want to leave your candle to allow the fragrance molecules to bind with the wax molecules and also for the wick to soak as much of the scent as possible which will help the fragrance come through. The curing time will ensure the best scent throw once your candle is burning.
While some waxes like paraffin only need around 48 hours, other waxes like soy may need around 1-2 weeks. It's important to know the recommended cure time of the wax you're using as this will ensure the best performance of your candle and the optimum scent throw whilst you're enjoying it.
The soy wax we've chosen has a recommended cure time of at least one week. As this is a tried and tested recipe, we found the best scent throw was after the candle had cured for 10 days but you can leave it for longer if the timing isn’t right for burning on day 10.
Whilst it takes a bit of patience waiting to burn your creation, rest assured the end result is definitely worth the wait!
We hope you enjoyed this tutorial and learned how easy it is to make your own scented candle. Why not take a look at our candle making kits? They’re a great way to expand your creative streak further and will also help you learn about how to make and test candles using different sized vessels, wicks, and colouring.
20 Comments
If I’m using my own glass container how do I know how much wax to melt for the size of the container?
Hello! I just wondered if there was any advice around the temperatures of the wax? Mine is soy wax but melts in 55 degrees not 80 (as recommended in the video). I did keep it boiling until 80 though, but by the time I transferred it to the jug, added oil, and stirred, the temperature dropped so much it did not melt well. Thankyou!
Hi Lefki, If you purchase the glass candle jars on our website, they are made specifically for any of our candle waxes so soy wax will be perfect ;) Kimberly – Craftovator
Hey!! For glass jar the soy wax is ok??
Hi Amanda, The diameter of our 50cl Gloss White 3-Wick Bowl is 125mm. You would need to use three wicks with this bowl so you would split the overall diameter into three. This would mean you’d need three wicks around 41.6mm each (125/3 = 41.6). We’d suggest the following brand/size wicks as a starting point: 3x TCR21/12, 3x Eco0.5, 3x LX10 or 3x Stabilo6. You can see more information on choosing the correct wick here: https://craftovator.co.uk/blogs/academy/how-to-choose-the-correct-wick-for-your-candle Hope that helps! Kimberly – Craftovator